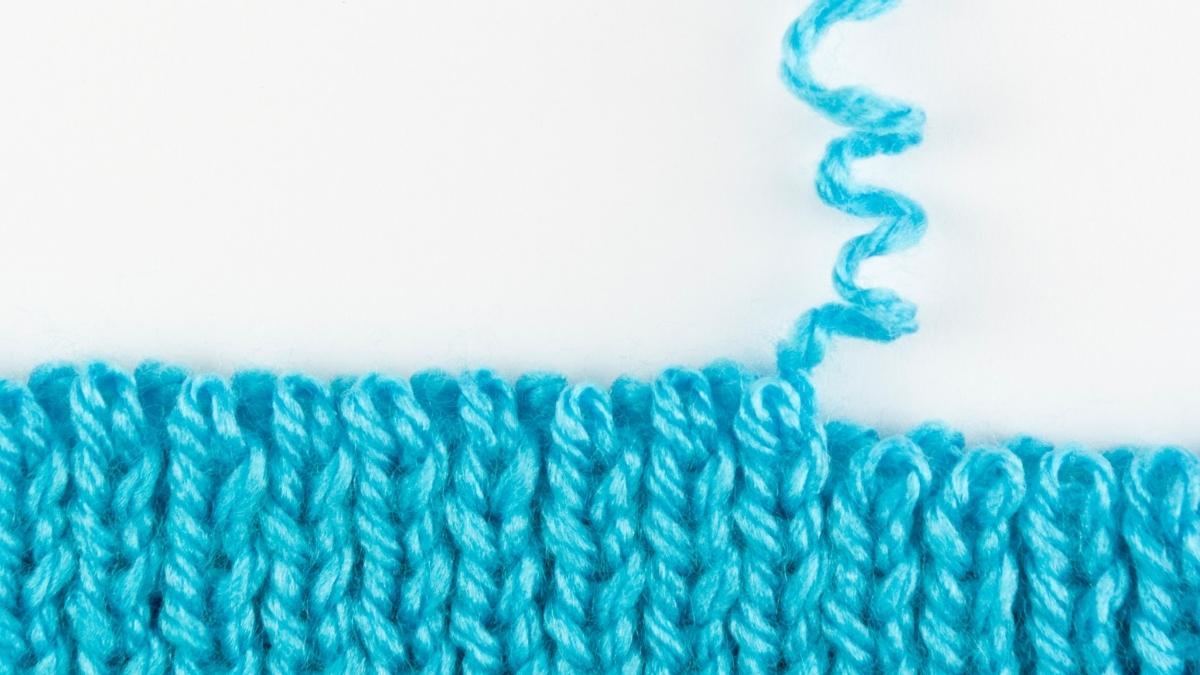
There may be nothing more frustrating than having a completed project begin to unravel. The days or weeks of work that went into it feel wasted if the result falls apart! There is a lot of debate in the crochet community about how extensive your efforts need to be to keep your project from unraveling, but for the most part, it’s pretty simple.
In this article, I’m going to teach you why your projects are unraveling and how to stop crochet from unraveling, tie off a finished project, and weave in your ends so you have a piece that lasts forever.
In a hurry? Here’s the quick guide:
To stop crochet from unraveling, leave long ends when changing colors or cutting off. Weave the ends back into the stitches with a blunt tapestry needle by dipping over and under them horizontally, then vertically.
If you’re interested in a more step-by-step process for ending a piece and weaving in your ends, or if you want to see other popular methods for securing your ends, stick around to the end of the article.
Why Is My Crochet Blanket Unraveling?
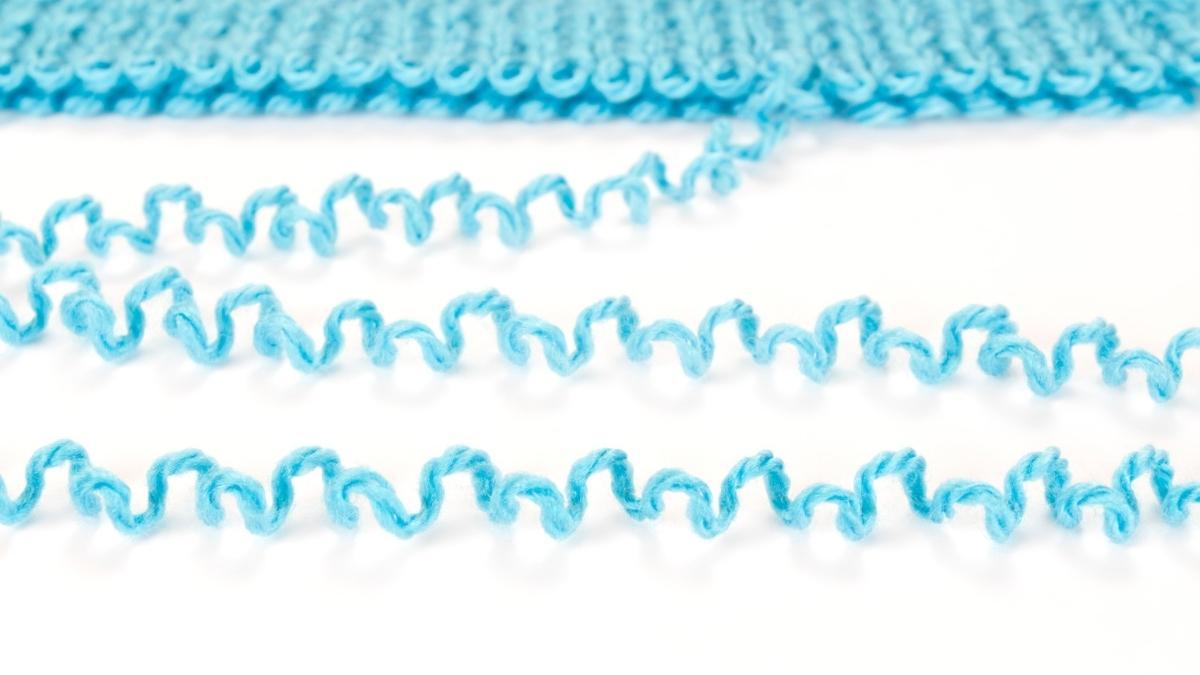
The most likely reason your crochet blanket is unraveling is that you didn’t leave long enough ends between color changes, or at the end of your project, the knot has come undone, and the stitches are falling apart.
I can’t tell you how many veteran crocheters I’ve seen tie a standard double knot, then snip their ends as close as they can to the knot. Many people do this, and unfortunately, after washes and wear, this knot will come undone, and there’s nothing left for you to use to repair the project.
How you end the project will predict how long it lasts, so it’s essential to do it right. If you’re unsure if you’re following standard procedure, I’ll detail how to end the project step-by-step in the next section.
How To Fasten Off
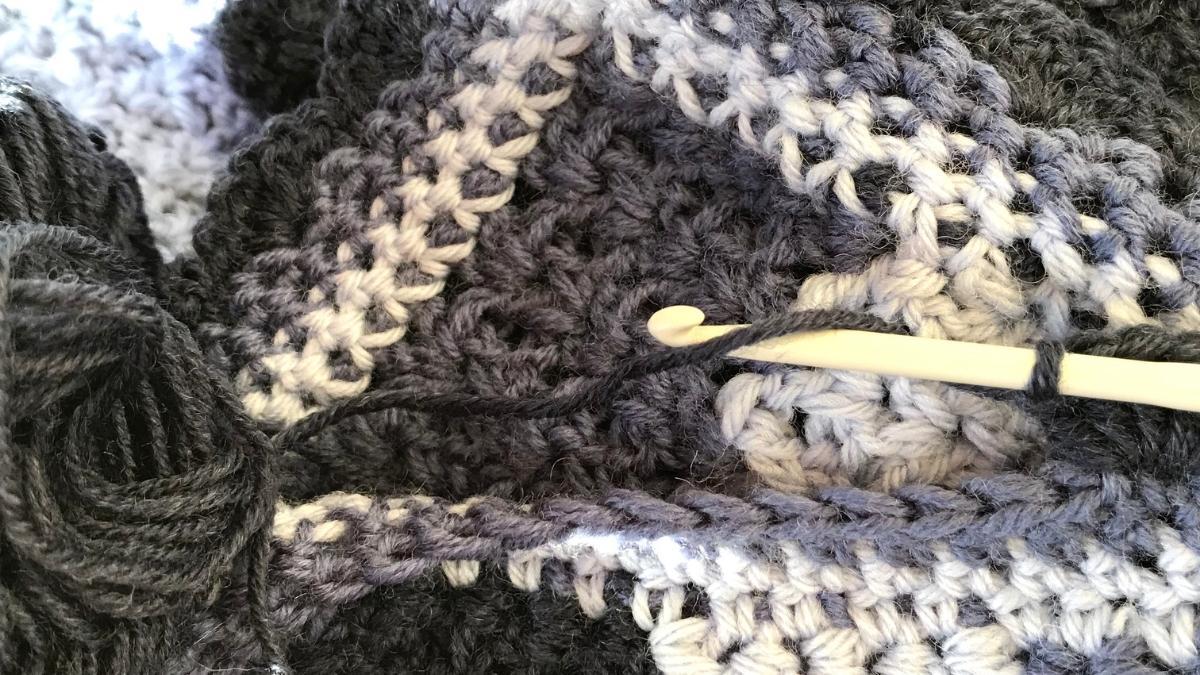
Cut your yarn with about six inches left to fasten off your crochet project. Grab the tail of the yarn with your hook and pull it through the loop on your hook until the end comes all the way through. Pull the end tightly to secure the knot.
I think this may be one of the few things people make too complicated. You don’t have to do an elaborate series of knots. One knot and some careful weaving will be plenty to secure the end of your work.
How To Weave In The Ends – Under and Over Method
To weave in the end of your work, put your tail through the eye of a tapestry needle. Use the needle to go back into the stitches, pushing it under and over every other stitch for three or four inches. Then, do the same thing vertically.
It can be hard to tell where to put the needle, but part of the point of weaving it in is to get the end lost in the stitches. If you go through one and split it, even better. To clarify where you’re weaving the end into, you’re trying to create a 90-degree angle with it. After going over the stitches parallel to the rows, go perpendicular.
How To Weave In The Ends – The Tunnel Method
To weave in the end of your work with the tunnel method, thread your tail through a tapestry needle, then slip it inside the loop that goes through the middle of your stitches. Once you’ve gone three or four inches, move down a row and go back the other way.
There is a front and a back face to your stitch as further explanation. You’re trying to slip in between them.
Some people recommend unraveling the end by picking apart the strings that make up the end and weaving the separate strands into their separate tunnels. All this does is add an extra layer of security.
Another variation of the method is to crochet over the ends as you pick up a new color or thread. To do this, you’ll hold the thread over the top of or to the back of the previous row and crochet normally, making sure to keep the thread inside of each new stitch.
How To Weave In The Ends On A Granny Square
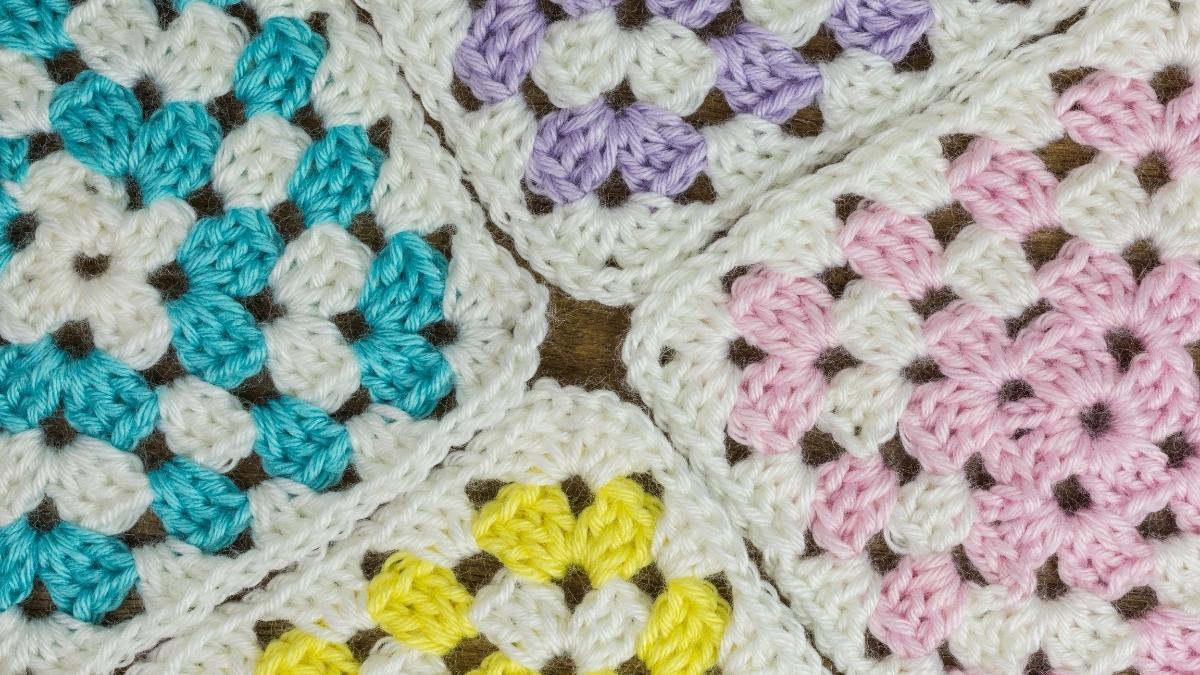
To weave in the ends on a granny square, use a tapestry needle or your crochet hook to go back and forth along the direction of same-color stitches with the ends. Make sure to weave in the ends on the wrong side of your work.
Weaving ends on a granny square is a little more complicated for a few reasons. Number one, you’ve got small sections of color that limit the places you can put your end. Number two, you have a lot of ends in a small space.
For this, it’s not much different than any other process, but as your granny squares will be taking a lot of pulling and pressure from the squares around it, and you’ll likely be washing and using this piece a lot, it’s best to be diligent with your ends. Go back and forth through same-color sections two or even three times, making sure not to peak through to the front side of the square.
As a general tip, weave your ends in as you go for a granny square. Maybe every two rows. If you waited until the end of a project to do any weaving, you might decide to give up the hobby altogether and try a life of homelessness.
How Do I Keep My Crochet Tight?
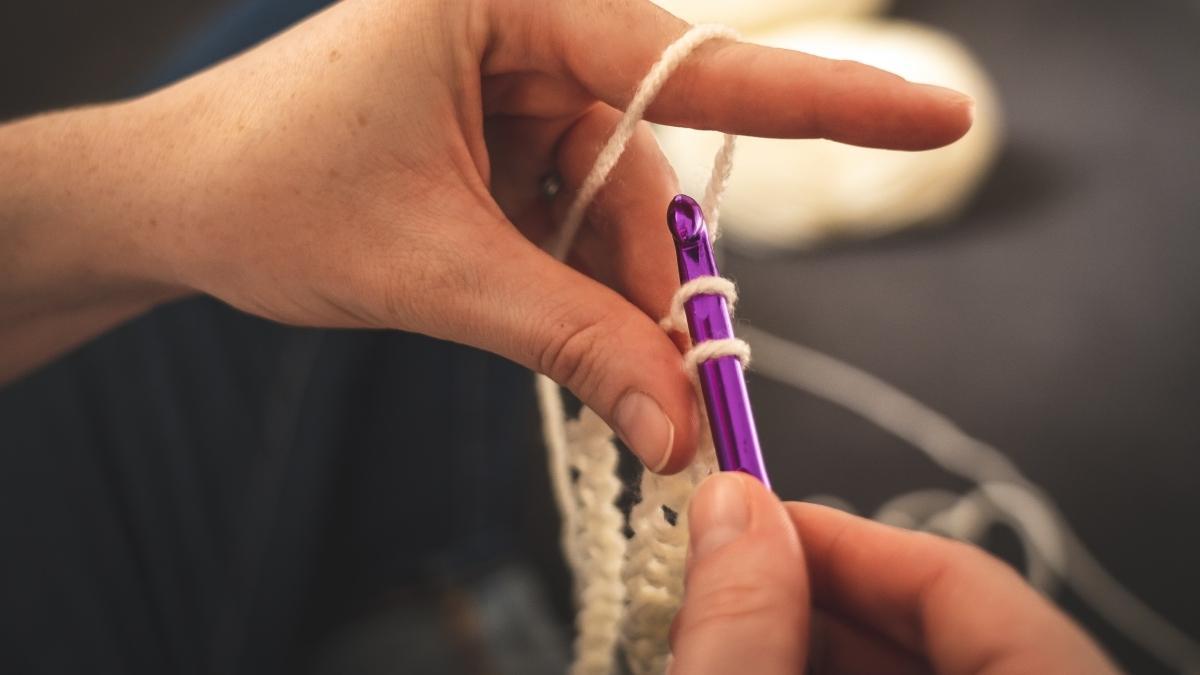
To keep your crochet project tight, you need to consider the weight and drape of your project and your tension. If your project gets too heavy and loose, your ends may come undone easier than if it stays in shape.
Especially with sweaters, you may have the issue of your yarn expanding and getting loose as you wear it. This is natural, and it is sometimes a great thing. If you didn’t account for it, though, your perfectly-sized wearable can suddenly become too big for you.
Make swatches and put them through the wringer to get a feel for how heavy yarn is. Pull on them, wash and dry them, hang something heavy from them. This is a great way to see how your stitches will hold up with wear. If the stitches get loose and your project gets more extensive, you may need to consider this with sizing and adjust accordingly.
Tension is probably the most crucial aspect of keeping your project looking and feeling tight. There’s no easy way to get perfect tension except through practice.
Experiment with how you hold your hook, how you hold your yarn, and how you’re getting your yarn. If you’re pulling from the outside of a skein, you may benefit from pulling from the inside instead. If you have yarn barf or tangle problem, try wrapping your yarn into a ball before starting a project.
Each of these components could impact the tension of your project, so play around with what gives you the best-looking piece and what will withstand wear. And make sure you’re leaving long ends and weaving them in, as this is just another defense against loosening work.
Originally posted 2022-07-06 11:33:20.
