Building and decorating a fort is fantastic fun!. Cardboard box forts are the most straightforward and customizable types to make – but you can also get creative with other materials.
By getting the basics right, you can even add onto your cardboard fort with some extensions, and decorate it in your style, creating your own indoor palace!
This is a great way of getting crafty with 8-year-olds when they’re bored during school holidays and at weekends.
In this article, I’ll describe the steps on how to make a box fort so that you and your kids can enjoy the whole experience together!
Collect those cardboard boxes!
First up, you’ll need two cardboard boxes for your ‘main room’, and an additional four for a more complex cardboard fort.
It might seem like a chore, but asking your local supermarket or other big stores if they have any old cardboard boxes you can use is a pretty good idea. It’s worth double checking them to ensure that the boxes don’t contain any funny smells, however!
Visit large department stores, grocery stores, or home improvement stores. They will likely have giant cardboard boxes you can use. I can usually collect dozens at a time just by asking!
Start building your first cardboard box fort room with your largest box
Your largest box will be your cardboard fort’s first room. Stand it on its open side so that the box is at a vertical angle.
Afterward, unfold it to make a rectangular-shaped box. Tape the bottom flaps together to stay closed and hold up well.
Cut off excess box flaps

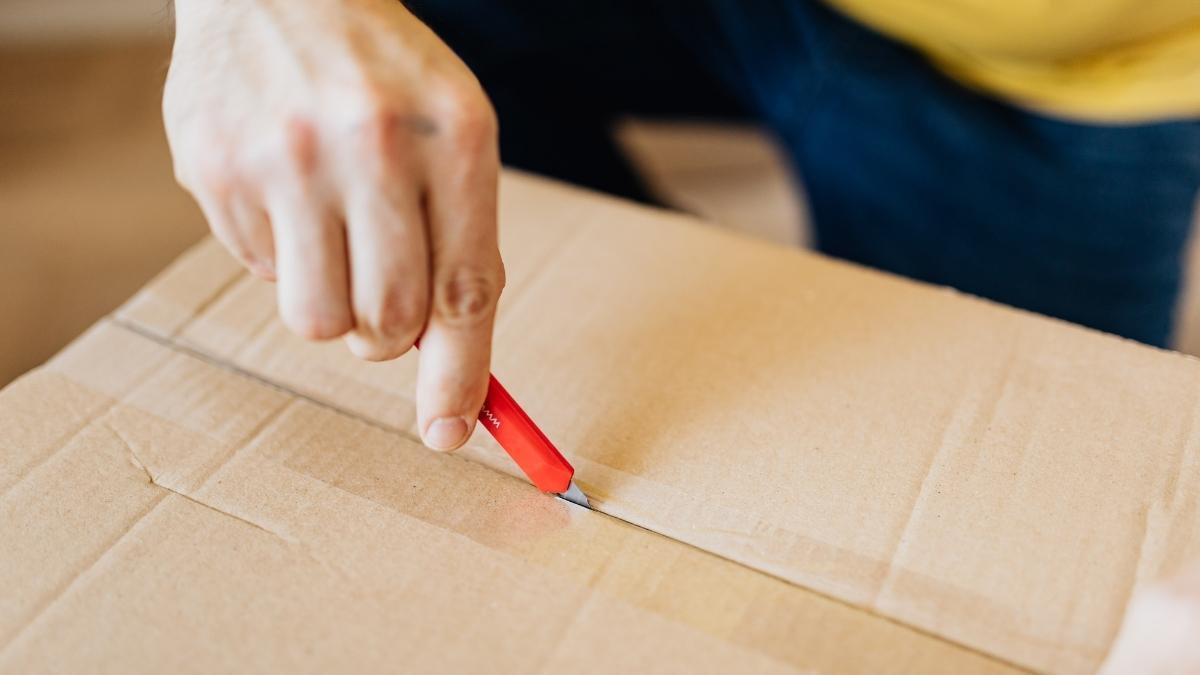
Use scissors or a box cutter to cut all the flaps off, carefully keeping them to one side. Try to keep the cuts as straight as possible since that’s where your roof is going.
Having extra bits of cardboard left over is very handy to keep up the construction of the cardboard fort, as it’s easy to make mistakes and want to start all over again. Just add bits back on if you make mistakes – easy!
Cut out your roof shapes from extra boxes
Find some more cardboard and cut the exact dimensions of your cardboard fort. The next step will be to cut two pieces of cardboard that are the same width as your fort – the longer they are, the pointier your roof can be. To have a straight roof, make sure both pieces of cardboard are the same size.
This will make an angled roof with a peak in the middle. If it covers the top of your cardboard fort, then you have yourself a shelter. There are plenty of simple ways to make a roof, but you could get more creative and come up with something unique.
You might be able to use the leftover cardboard sheets you cut off earlier and use them for the roof. You can tape two bigger pieces together and cut out another piece of cardboard precisely the same size, using your previous part as a guide for the second.
Tape your roof to the main room of your box fort
Get your tape ready to pull and cut a long strip. You’ll want to use this to connect the two roof pieces together along the middle. Tape one side of your roof to the top of your cardboard fort, making sure it stays in place with plenty of tape.
Repeat on the other side, so there’s some overlap in the middle, and use more tape than before. You could use colored tape to create a more exciting look!
This part can be a bit tricky on your own. Grab a friend or family member to help you put it together. It’s always more fun to share your cardboard fort-building experience with someone else.
Cut triangle box pieces to fill in the ends of your roof
Lay out a large piece of cardboard on the ground and flip your fort on its side so the roof side is aligned with it. Trace around the roof with a marker, then cut along the line for your gable (that’s the triangle bit for the open roof ends).
Cut another one of the exact size for the other side of your roof.
If you want your roof to be open, you can skip this step, but it will likely let in a breeze! You could cover the empty spaces with cellophane or paper for an exciting window effect.
Sometimes you’ll need to cut off extra little bits and pieces of the cardboard to make it fit exactly. It’s challenging to get it right the first time, so don’t worry about it too much.
If you cannot move the fort, you can hold the cardboard on top of it and trace it instead. This might be more difficult to do by yourself, so get someone else to help.
Cut out the entrance door for your box fort
By now you should have a nearly complete and completely freestanding, cardboard box fort! It’s time to make an entrance to the inside. There are four sides to the door opening, so choose which side will be facing front and mark off three of these sides with the box cutter.
Cover the hinge with flexible adhesive (like painter’s tape) and re-attaching to close the gap when you open and close doors.
The easiest way to open the door is to tape a piece of cardboard or string to both sides. It creates a handle, and your fingers won’t get pinched. It’s best if the door opens outwards to have more room on the inside of your fort.
Decorate your cardboard box fort and get creative

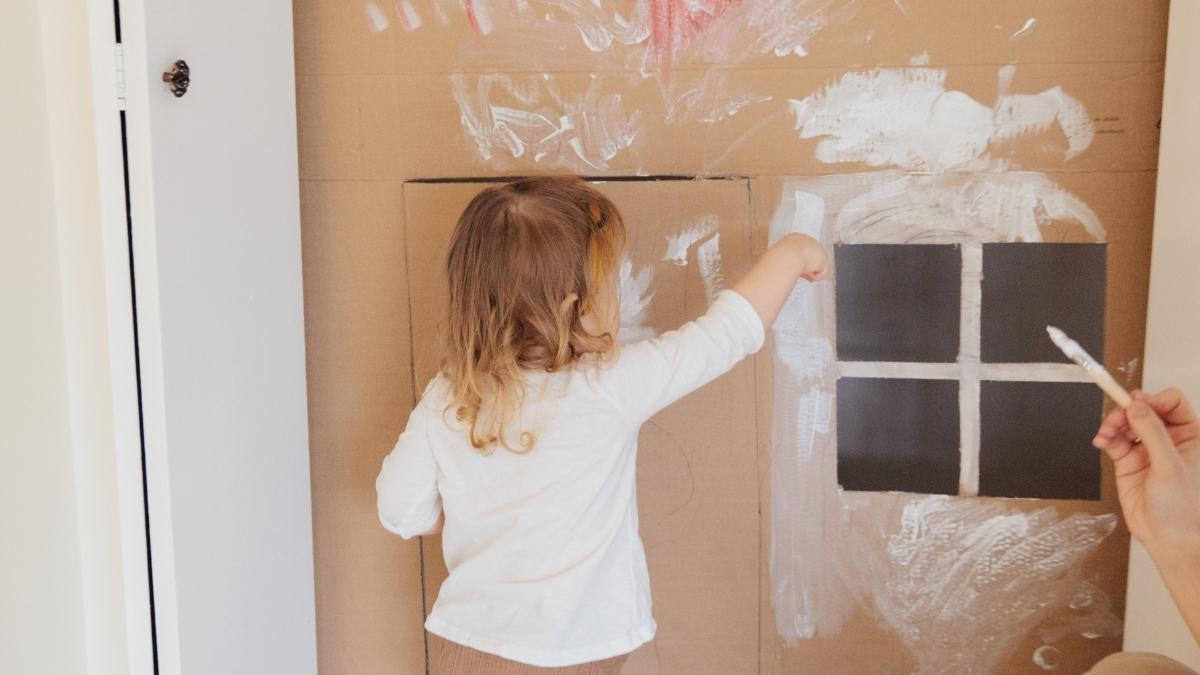
Now the most fun part begins – which is when you can start decorating your cardboard box fort any way you, or your kids, want.
Grab the paints, stickers, and even dried pasta or soft materials like cleaned feathers to create something magical and wonderous. Let your children’s imaginations run wild and create something inspired.
And now you have the skills on how to make a box fort that’s perfect fun for you and the kids! Get silly, and have fun!
Originally posted 2022-03-26 05:56:56.
