Believe it or not, ovals are actually pretty important shapes in crocheting! We frequently find them in patterns with images or even entire crocheted items! Just imagine all of the patterns, designs, and styles you’d normally need curves for – it’s safe to say that learning how to crochet oval shapes is worth doing.
Sadly, even for the most experienced crocheters, making ovals in crochet can seem nearly impossible! However, take heart – with a little practice, you may be crocheting up curves before you know it.
Much of the work involved with crocheting ovals simply revolves around making single crochets. However, there are a few key things you will need to get right for the ovals to stick, especially when it comes to your action stitches.
Keep reading, and I’ll fill you in on everything you need to know about how to crochet an oval pattern with ease.
Do you need special tools to make ovals in crochet?
Given how intricate these shapes may seem, it is only natural to wonder whether or not you will need a special tool or even a machine to create your crocheted ovals!
Thankfully, no, you don’t need any special tools. You do not even need to follow along with a pattern to get your ovals right, although there is no shame in doing so if you need to – we all need help sometimes.
All you need to create your ovals is your yarn and your crocheting hook. Having a few stitch markers with you will also save you a lot of time and will help a lot! Having at least six stitch markers will help you to go a long way, so be sure to collect at least this amount.
Otherwise, all you need is to follow this quick and simple guide to creating the best crocheted ovals you can.
How to crochet oval shapes – six simple steps
1. Create a foundation chain
As you may know, successful crochet relies on a solid foundation chain. No crochet pattern will hold together without a foundation, so start by creating yours. It can be pretty much of any size, as long as it is solid.
However, it is important to note that for a more oval shape, the longer the foundation chain, the better. On the other hand, for a circular and only slightly oval shape, stick to a smaller chain.
2. Single crochet into the chain
Now, you can start to single crochet into the second chain with your hook. Keep going until you reach the end. Once you reach the final stitch, single crochet it another two times. There should be three stitches in total in that final stitch.
3. Mark your stitches
At this point, you should mark all three of these final stitches – ideally, use a locking stitch marker, so you don’t lose them. This is an essential step as these will become your action stitch and are imperative for the later steps!
4. Stitch up the other side of the chain and create another action stitch
Turn your pattern over and single stitch over every chain on the other side. Single crochet the final stitch three times again, marking them with your stitch marker. This will now be your second action stitch, and it is just as important as the first one!
Now, you can single crochet right up until the first stitch before the first action stitch.
5. Stitch along the markers
Single crochet twice again in the next stitch, removing the first marker. Single crochet three times yet again in the marked action stitch area.
Then, perform two more single crochets in the next stitch. Replace the stitch marker in the middle of the new three stitches. Repeat the process on the other side.
6. Finish up your oval
Keep the above process going until your oval has reached the optimal size. Hey, presto! You’ve got an oval. But what are you going to make out of it…?
What can crocheted ovals be used for?

Think about popular shapes and patterns that rely on oval shapes and curves – Easter crafts are likely to spring to mind! But, as you start exploring new ideas with your crochet hook in hand, you may find some surprising projects that rely on oval crocheting.
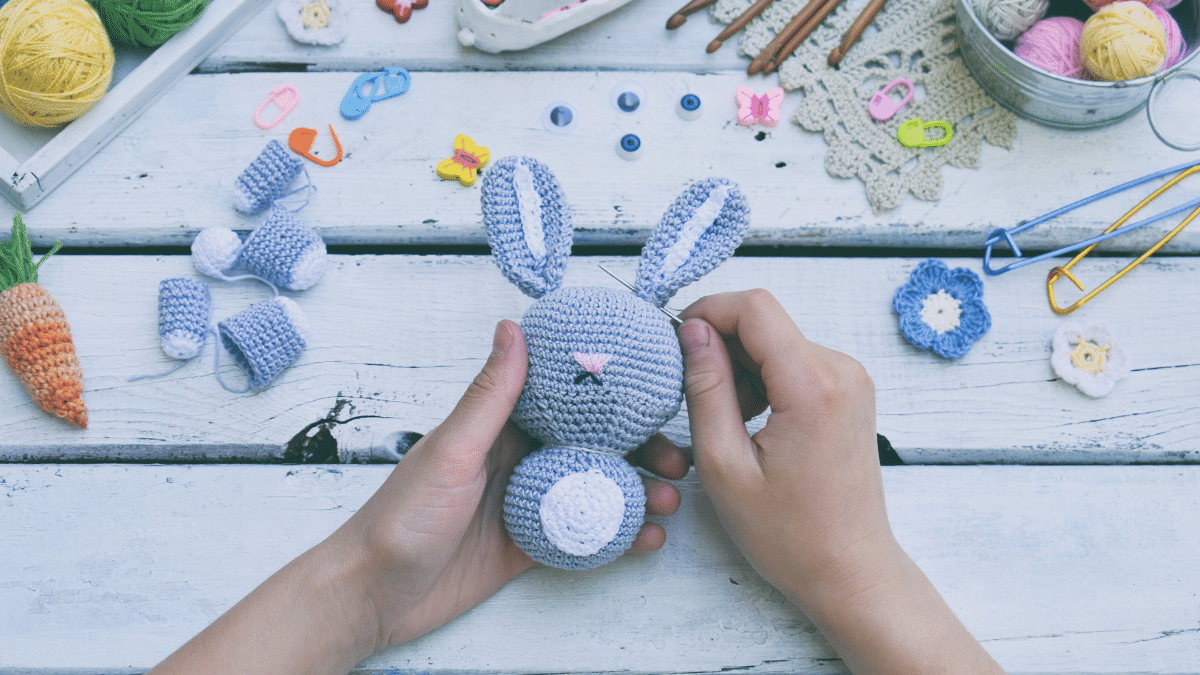
For example, ovals are very common in amigurumi. Amigurumi is the art of crocheting toys, such as stuffed animals, teddies, and so on. The ovals in amigurumi are usually used to make the tummies, or certain accessories for the bears.
However, crocheted ovals do not have to be clothes or even toys! They can just as easily be used to make items for your home that you will likely use every day.
For example, you can use crocheted ovals to make place mats, trivets, rugs, cushions, purses, handbags, dog beds, cat beds, and for the really skilled, maybe even a hammock or two – go wild!
Ovals can also be used for making flower petals, boat bases, eyes and more. Really, ovals are everywhere in crochet detail, which is why learning how to make them is so important. The sooner you get to grips with this slightly tricky art, the better. It’s a rite of passage for most crochet experts – this is pretty universal!
Whatever you choose to make, learning how to make ovals in crochet is a great idea. Many of us tend to think of crocheting in a very linear way in that it is mainly used for making scarves, rugs, blankets, and the occasional item of clothing, but ovals are more present than you might think!
Conclusion: How to crochet an oval shape
As you can see, learning how to crochet an oval pattern really doesn’t have to be that difficult. Most of all, it requires practice. Once you have successfully learned how to create your action stitches, and remembered to place your stitch markers, there’ll be no stopping you!
From toys and rugs to kitchen items and even clothes, ovals can be really versatile. You’ll soon be on your way to making an entire poncho out of crocheted ovals! Although, making small placemats or oval brooches is a great place to start.
Remember to give yourself time. The main thing is to get the action stitches right. If even one of them is off, it can undo the whole pattern. Sadly, if you have been working on a large oval shape, such as a rug or a blanket, realizing your action stitch at the start is wrong can be a real nightmare!
So, whenever you reach an action stitch, stop and take the time to really get it right. It may even take you a few tries, but trust me, it is worth it!
Originally posted 2022-07-06 10:58:04.
