If you’ve ever worked off of a pattern, you may have encountered instructions that tell you to crochet on the wrong side. This can be unclear, even for veterans. Why, after all, do I need to crochet on the wrong side, and what does that mean?
In this article, I will teach you how to figure out which side is the wrong side, why patterns tell you to crochet on the “wrong side,” and how to crochet on the wrong side of a chain to create an oval.
In a hurry? Here’s the quick guide:
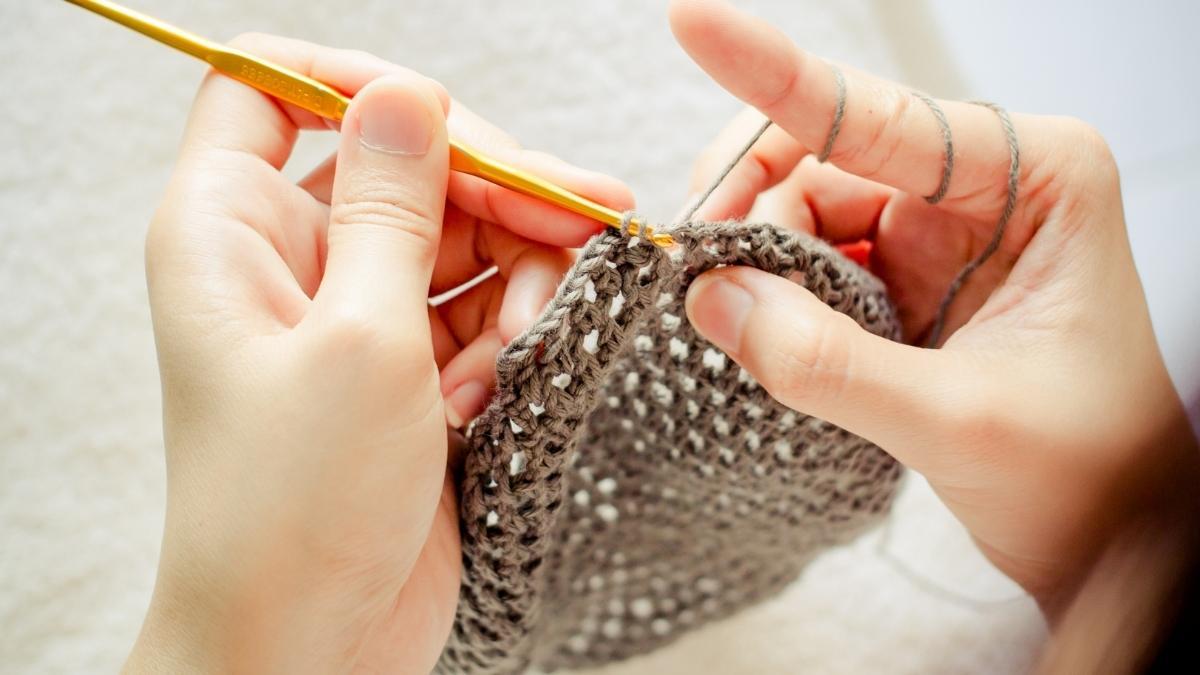
To crochet on the wrong side, make sure your starting thread is on the left (for right-handed crocheters) and crochet down the row normally, according to the instructions on your pattern. Your right side will be facing out when the piece is in this position.
If you’re just wondering how to tell which side is the wrong side, finding the starting tail on your project should be sufficient. However, crocheting on the “wrong side” is a bit more nuanced than that for many people, especially if patterns specify this is where you should be working. If you’re interested in learning more about crocheting on the wrong side and what that means for your project, hang around until the end of the article.
How To Tell Which Side Is The Wrong Side In Crochet

The wrong side of a crochet project will be facing you if the starting thread is on the opposite side of your hook hand. This means you’re crocheting on the wrong side. All this does is put the “pretty side” of the stitch on the other side of the fabric.
Ideally, when you finish a crochet project, you want it to look finished and cohesive. Some people and patterns are particular that only the “right side” is facing out on a finished project or that you’ve hidden imperfections on the wrong side. This would mean that you crocheted in a way that would position more of the pretty stitches facing the viewer.
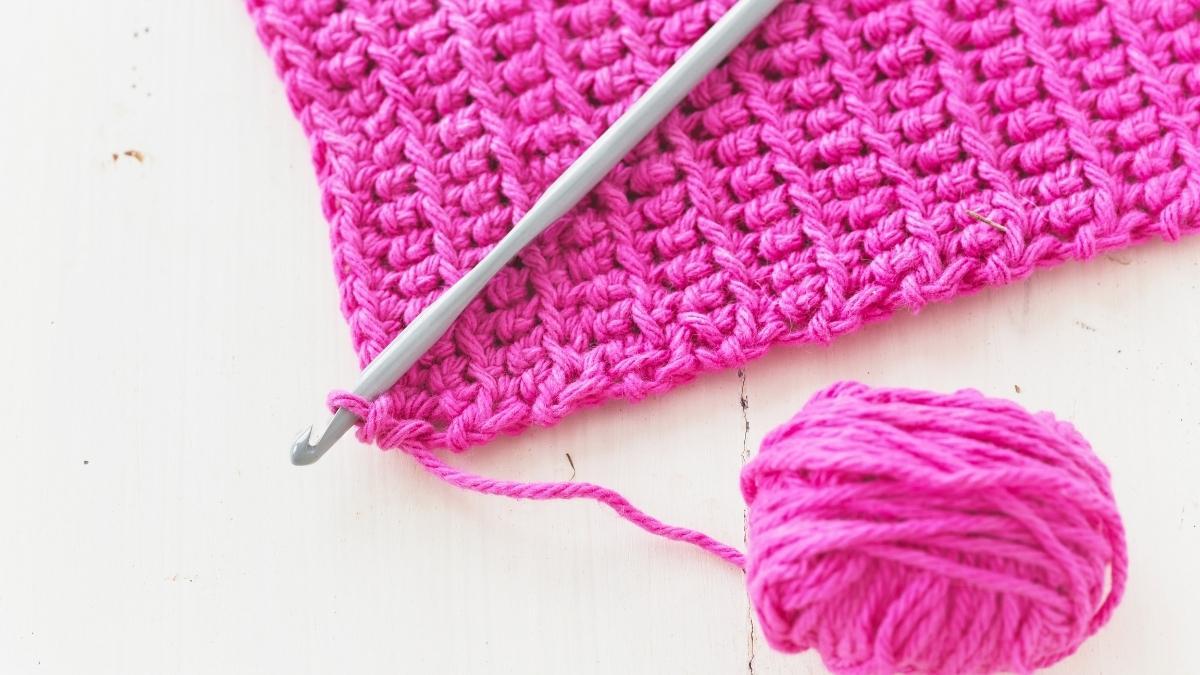
When looking at either side of your project, you may be able to tell a slight difference in the texture of the stitches. On the wrong side, there is a bit more texture to them. On the right side, the stitches look a little bit softer. I personally prefer the look of the wrong side to the right side, but that may be a bit controversial.
When you crochet in rows, you crochet on the wrong side every other row. In the end, this doesn’t make much of a difference to the project’s final appearance. Some ways in which this might matter are if you’re starting a new color, if you’re starting in the middle of a row, or if you’re working in the round.
How To Crochet On The Wrong Side When Starting A New Color

Start a new color when the wrong side is facing you. To do this, work a stitch until the last loop needs to be pulled through, then pull the new color through this last loop. Continue working with this yarn, crocheting with the old thread in the back.
This is a bit more of an advanced technique that is essential for projects with multiple color changes. Working with this method will give you a definite right and wrong side, as you won’t want to see the old color peeking through on the right side.
This is called carrying the yarn through. Carrying it through means that you’ll be able to pick up that new color without cutting the thread a few stitches down the line. You don’t want to be able to see this thread on the right side, so you’ll have to hold the old thread to the back of the row you’re working into. You’re essentially hiding the old thread inside your new stitches in a way that won’t be visible from the right side.
You can still use this method to secure your ends if you’re cutting the thread. If you’ve made a color change and have a few inches of the old color hanging around, push the end to the back of the stitches that you’re working into and secure the end into those stitches.
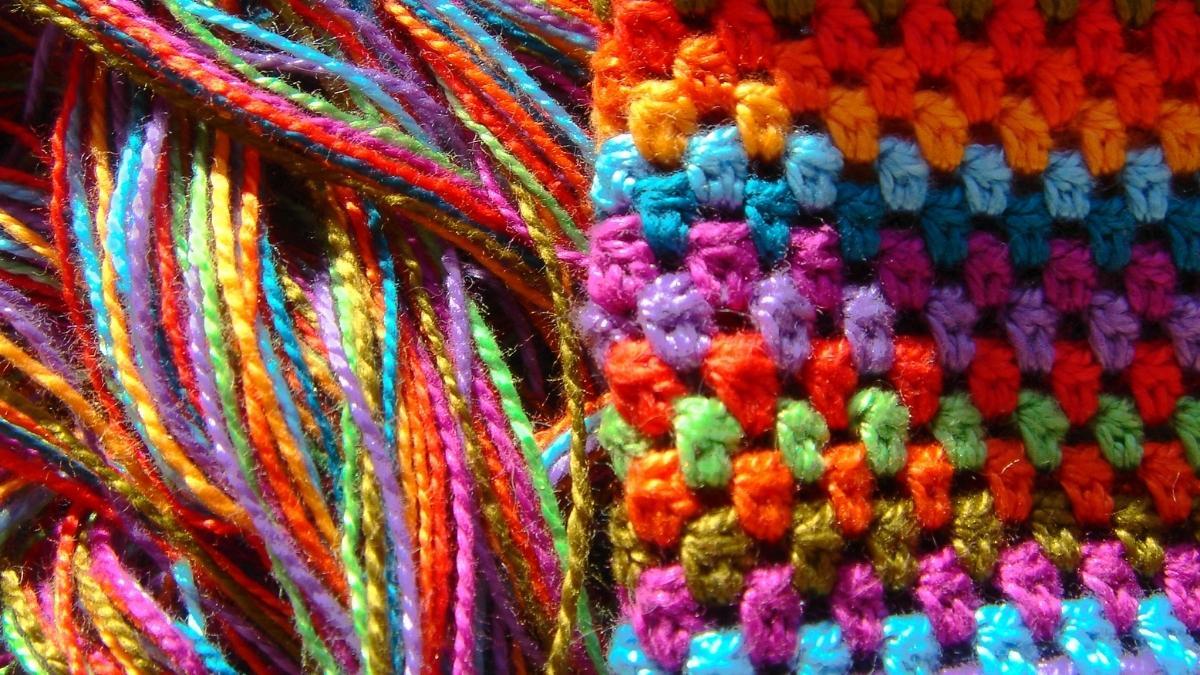
Another reason this matters is when you crochet a new color on top of your previous color; the stitches create little “x” s on the wrong side that looks unappealing. If you crochet with the right side facing out (the wrong side facing you) when you do this color change, you won’t be able to see the ugly x on the side you present to others.
How To Crochet On The Wrong Side In The Middle Of A Row
If you’re starting in the middle of the row, make sure the wrong side is facing away from you. This will mean that your starting thread is back on your hook-hand side. This ensures that your rows have varying right and wrong side rows, not stacked.
This may be a little difficult to visualize but hang in there for a minute. When crocheting in rows, every other row is on the wrong side. If you cut your thread, then start a new row in the middle of your previous row and crochet another “wrong side” row, then your right and wrong side rows won’t be every other row as they should be, there will be two of the right or wrong side in a row. With shinier yarns, this is especially noticeable, so be wary of this in wearables.
The aesthetic of the piece is the only reason this matters. If it doesn’t bother you to have two right or wrong side rows stacked on top of each other, you don’t need to worry.
How To Crochet On The Wrong Side Of A Chain
To crochet on the wrong side of the chain, flip your chain so that the tiny bumps on the underside are facing up. Crochet into each bump as you would crochet into the top loop normally.
If you’re working an oval shape, such as with a placemat or a basket, you will need to crochet on the wrong side of a chain. That process might look like this:
Chain five, turn and create four single crochet. Crochet two more single crochet in the end chain. Turn the piece and crochet four single crochet on the wrong side of the chain. Crochet two more single crochet in the end chain. Join with a slip stitch.
This will create an oval shape!
As you can see, learning how to crochet on the wrong side and when you might have to is a little more nuanced than you might think. Hopefully, this guide has covered most of these bases and given you a better understanding of the terminology.
Originally posted 2022-07-06 11:23:49.
