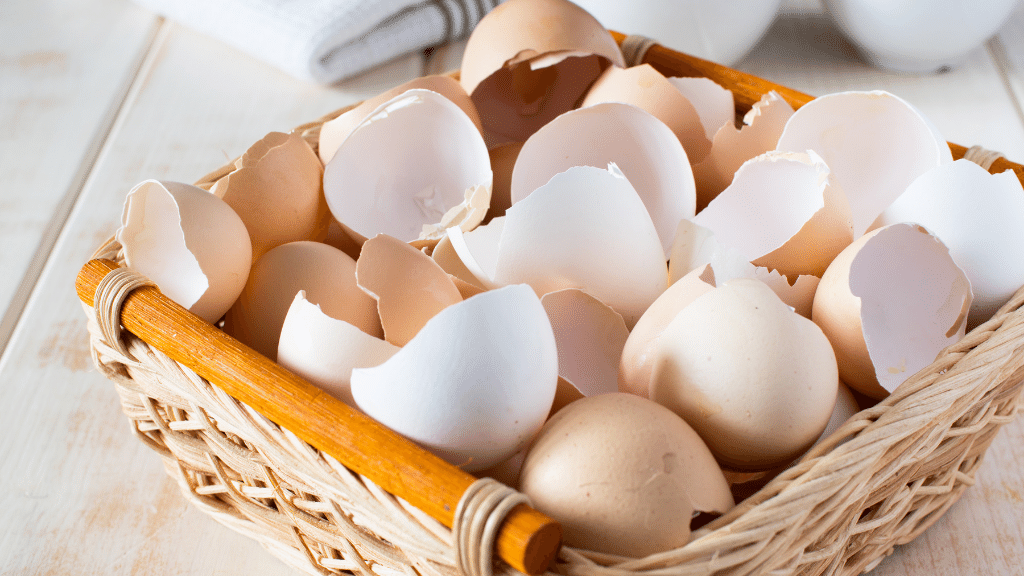
Eggs are amazingly versatile – did you know there are reportedly 100 different ways to cook them? Rather than focus on the cuisine side of things today, however, I’m going to be looking at what happens to the shells after breakfast’s served. Instead of throwing them away, why not learn how to clean egg shells for crafts?
Many of us remember painting egg shells as kids at Easter time – and it’s something I’ve passed onto my children, too! The healthiest eggs to paint, of course, are those that won’t go rotten – therefore, empty!
In this guide, I’ll take you through how to clean egg shells for crafts, and what you can do with them when they’re dry.
Cleaning egg shells for crafts: A Step by step guide
Cleaning egg shells, if you intend to reuse them, is essential – they can harbor all kinds of bacteria and hidden nasties, such as salmonella – which, if you’ve ever had the misfortune of succumbing to, is hardly a pleasant experience! Therefore, always make sure you clean your egg shells properly before crafting starts.
Before we look at how to wash egg shells you’re going to need a few items to hand. Make sure you have access to clean water and dish soap, a little vinegar, paper towels, and some cotton pads.
Now you’re stocked up on everything you need to get started, here’s everything you need to know about cleaning egg shells for crafts.
Step #1: Wash with water
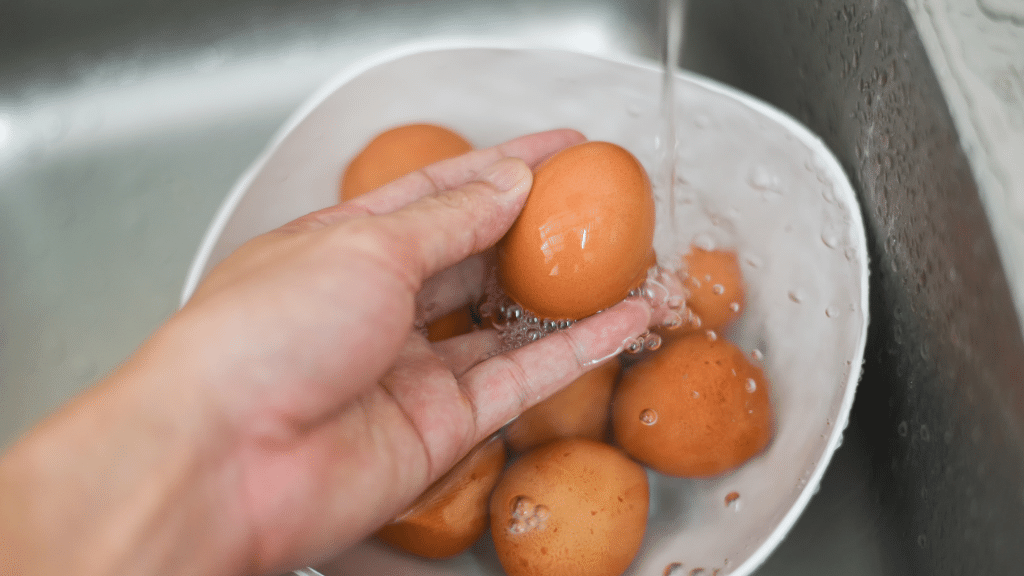
To make sure that your egg shells are completely bacteria-free, the first step you should always take is to rinse with water. You’re going to need to do this fairly gently, so that you don’t accidentally crack parts of it you might require for your project.

You can use dish soap for this part of the cleaning and preparation process – it’s certainly something I rely on when cleaning up old shells!
Remember, it’s only ever a good idea to wash egg shells after you’ve used your eggs! Washing eggs beforehand may cause salmonella to transfer through to the inside – as their shells consist of many tiny little pores.
Step #2: Rub gently with vinegar
Everyday household vinegar is fantastic at getting nasty dirt and grime off of egg shells, however, some anecdotal evidence suggests leaving eggshells in vinegar for a few hours will start to erode them! Therefore, it’s a really good idea to be gentle when applying it to your shells for crafting.
Grab a cotton pad or two and lightly dab in vinegar. Then, gently dab and wipe away at your rinsed shells, carefully removing any blemishes that may spoil the look of your craft project.
Step #3: Leave the shell’s to dry
You’re then going to need to let your egg shells dry fully – so prepare some paper towels and leave the air to work its magic. This may take some time, so if you wash your egg shells in the morning, you will hopefully have some clean and ready to make crafts with by the late afternoon.
Step #4: Remove the shell’s membrane
Once your shells are completely dry, it’s time to actually get inside them. Removing the egg shell membrane should be relatively easy once you’ve cleaned and wiped the outside down. The membrane is inside the shell and should peel away – however, it pays to be very careful with this step, in case you accidentally break the shell itself.
Peeling the membrane away from the shell is a must, simply because you may still find there is an eggy stink if not fully removed! It’ll also help to keep your shells clean and safe for use during crafts.
Once your membrane is fully removed, your egg shell(s) will be ready for you to get creative with. Great work!
What if I accidentally break my egg shells?
If you break your egg shells during the cleaning process, don’t worry! There are some brilliant craft ideas you can try with broken shells, too. I’ll take you through some of these a little further down.

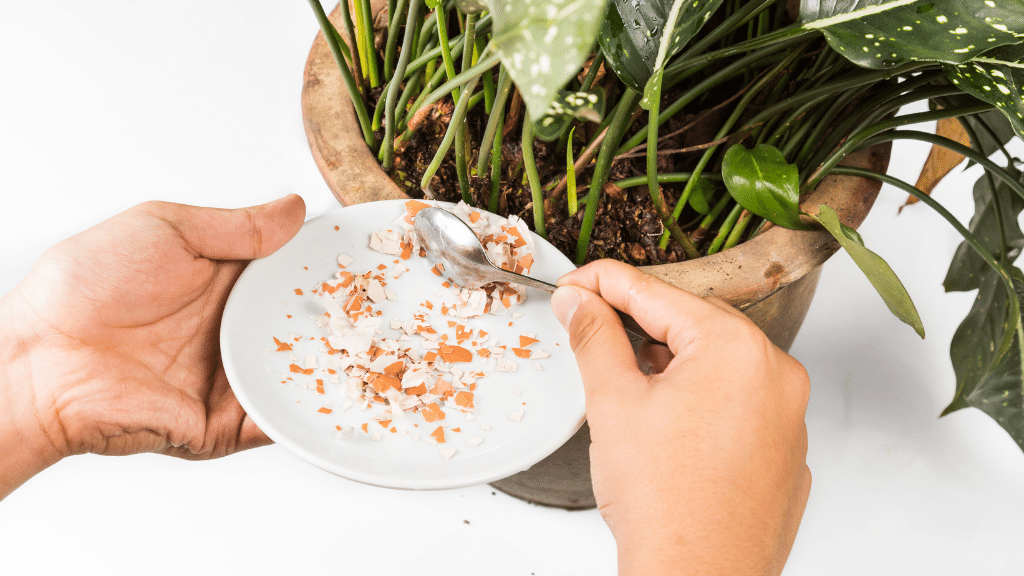
Otherwise, egg shells are fantastic for the environment. Did you know that they can help to enrich the soil for your plants? Place any broken egg shell you don’t want to recycle for crafts around your flower beds and in pots. Many people also use egg shells to help deter pests such as slugs – give it a try!
Great Egg Shell Craft Ideas
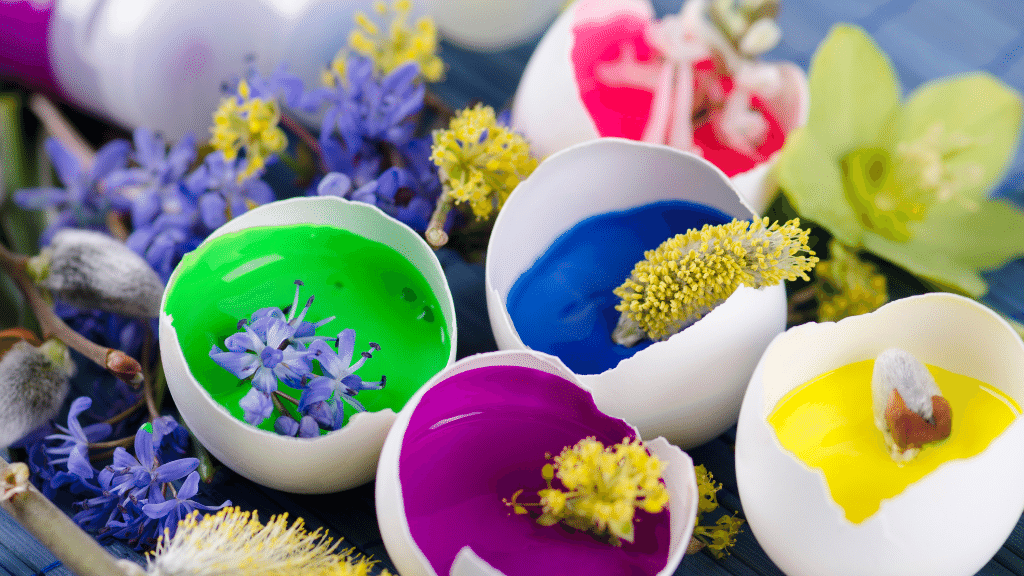
As mentioned, many of you out there will have some experience from childhood with painting eggs for Easter. However, there’s much more you can do with cleaned egg shell if you really want to flex your creative muscles.
You could create jewelry from cracked shells, or even create hollow festive ornaments to hang on your Christmas tree. You could even paint eggshells that are cracked open at the top, and use them as miniature plant pots for inside your home.

For some really creative Easter artwork, you could paint and break shells up and use them in a mosaic style – go wild!
A word of caution, especially if you’re making egg shells crafts with your kids – egg shell edges are sharp! Be delicate – this is also a good idea if you want to avoid breaking any of your shells, too.
A Quick Recap
Now you know how to get your egg shells looking great and cleaned up safe for crafts, you’re free to go ahead and explore. Let’s quickly recap on the steps you need to remember:
- Gently wash your egg shells with water and dish soap.
- Gently dab and wipe any remaining dirt away with cotton pads and vinegar.
- Leave the egg shells to dry on paper towels.
- Once dry, carefully peel out the membrane inside the egg shells.
That’s really all there is to it. It’s important to clean any egg shells you wish to use thoroughly, so there’s no risk of transferring salmonella to your kids – or anyone else!
Egg shells aren’t just for Easter, either – take a look at some creative and crafty ideas on Pinterest and YouTube and get making!
Originally posted 2022-05-26 09:29:47.
