Do you have holes in your walls? No need to fret – those wall cavities can be dealt with without too much hassle. Growing a homestead is no easy task and one of the biggest challenges that comes with it are pesky holes in walls. From patching them up to filling them out and even painting over them, there’s plenty of ways to tackle this issue. With our guide on how to identify, patch, fill and prevent future holes in walls you’ll soon be able to make sure these eyesores never appear again.
Identifying Holes in Walls
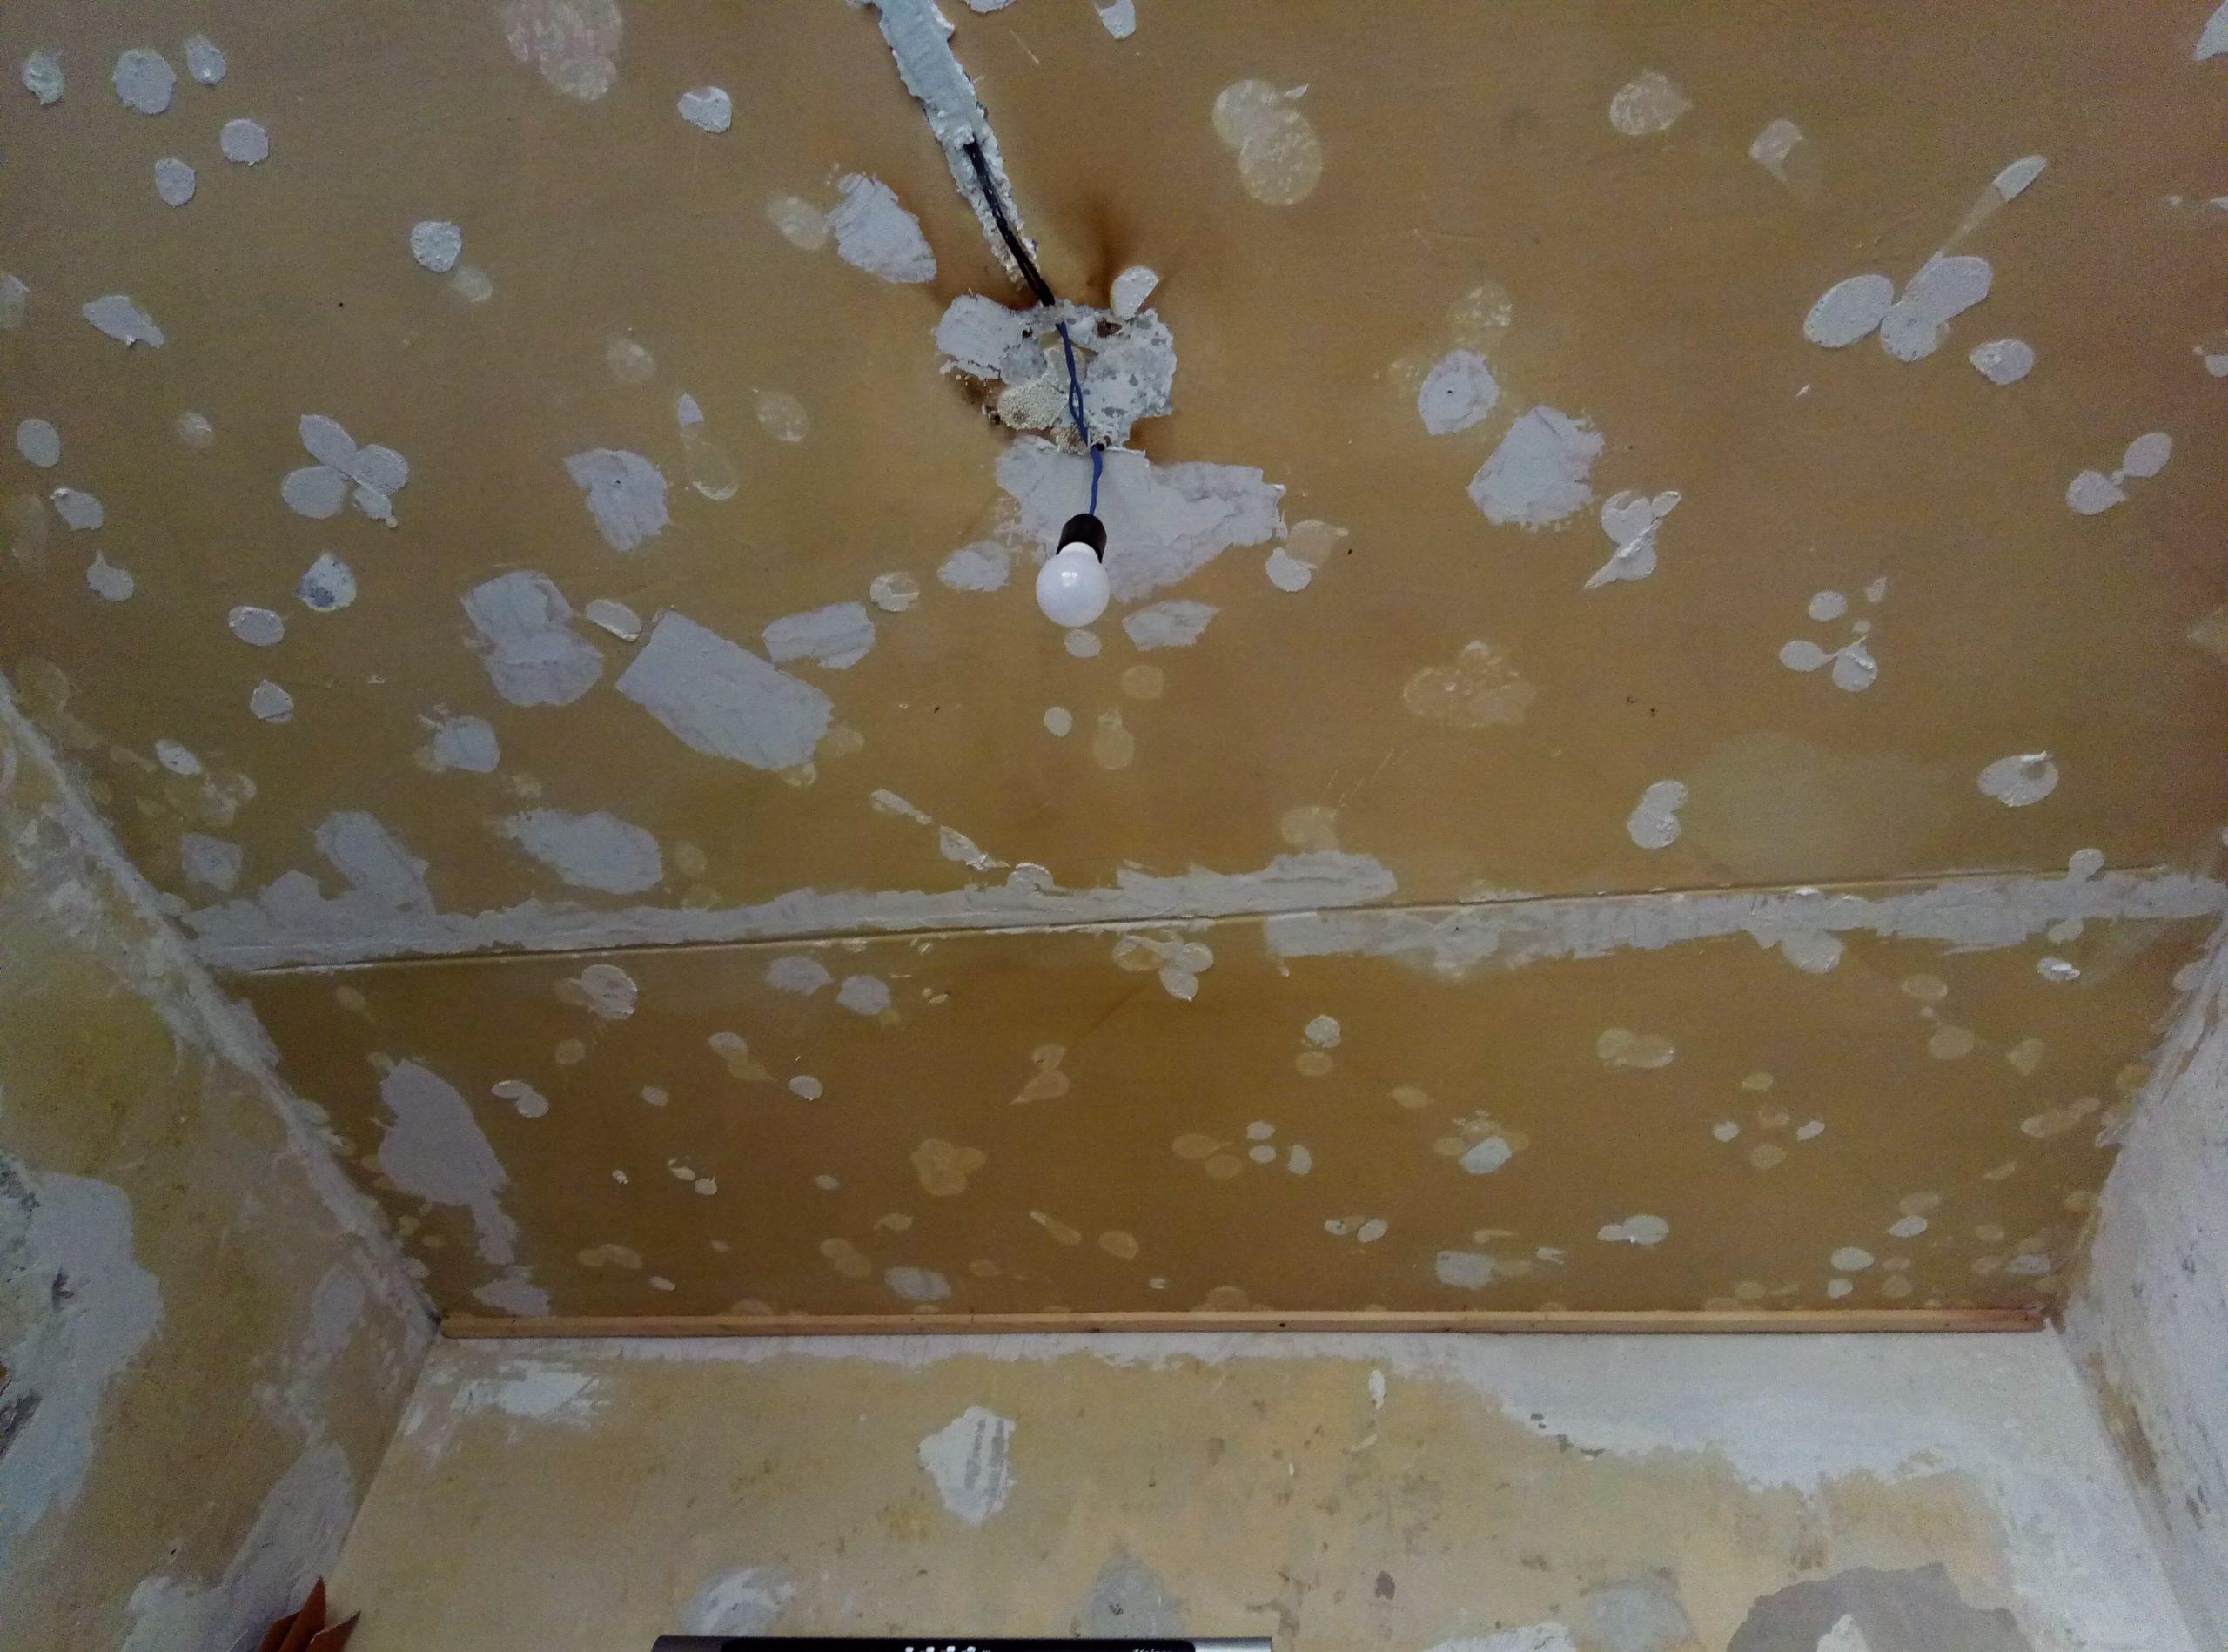
Finding holes in walls can be a challenge, yet it’s essential to do so before attempting any fixes. The most common types of wall damage are small nail holes, thin cracks and larger patches. To find these imperfections, start by running your hands over the surface of the wall until you feel a slight dip or bump. You may also want to use a flashlight to look for shadows that indicate an area where something has been removed from the wall or patched up.
For patching wall cavities, two popular approaches are drywall mending and spackling paste application. Drywall repair requires cutting out the damaged section with a drywall knife and replacing it with new material. This is best done when dealing with large sections of missing drywall or if there’s evidence of water damage behind the hole. For smaller holes, spackling paste is often enough to fill them in without needing additional material like paper tape or mesh tape for reinforcement.
Once you’ve filled all your holes, you’ll need to sand down any excess material and smooth out any bumps before painting over them for a seamless finish. Use medium-grit sandpaper on areas that have been repaired with spackle paste and fine-grit sandpaper on areas that were replaced with new drywall pieces; this will ensure everything looks even once painted over. Finally, wipe down the entire area one last time using a damp cloth before applying paint primer then paint as usual – don’t forget those finishing touches
Identifying breaches in walls can be a challenging endeavor, yet with the correct equipment and understanding it is achievable. Moving on to patching those same holes is an important step that should not be overlooked.
Patching Holes in Walls
Patching holes in walls can be a daunting task, but with the right materials and techniques it doesn’t have to be. Whether you are dealing with small nail holes or larger ones, patching them up is relatively simple. Here’s what you need to know:
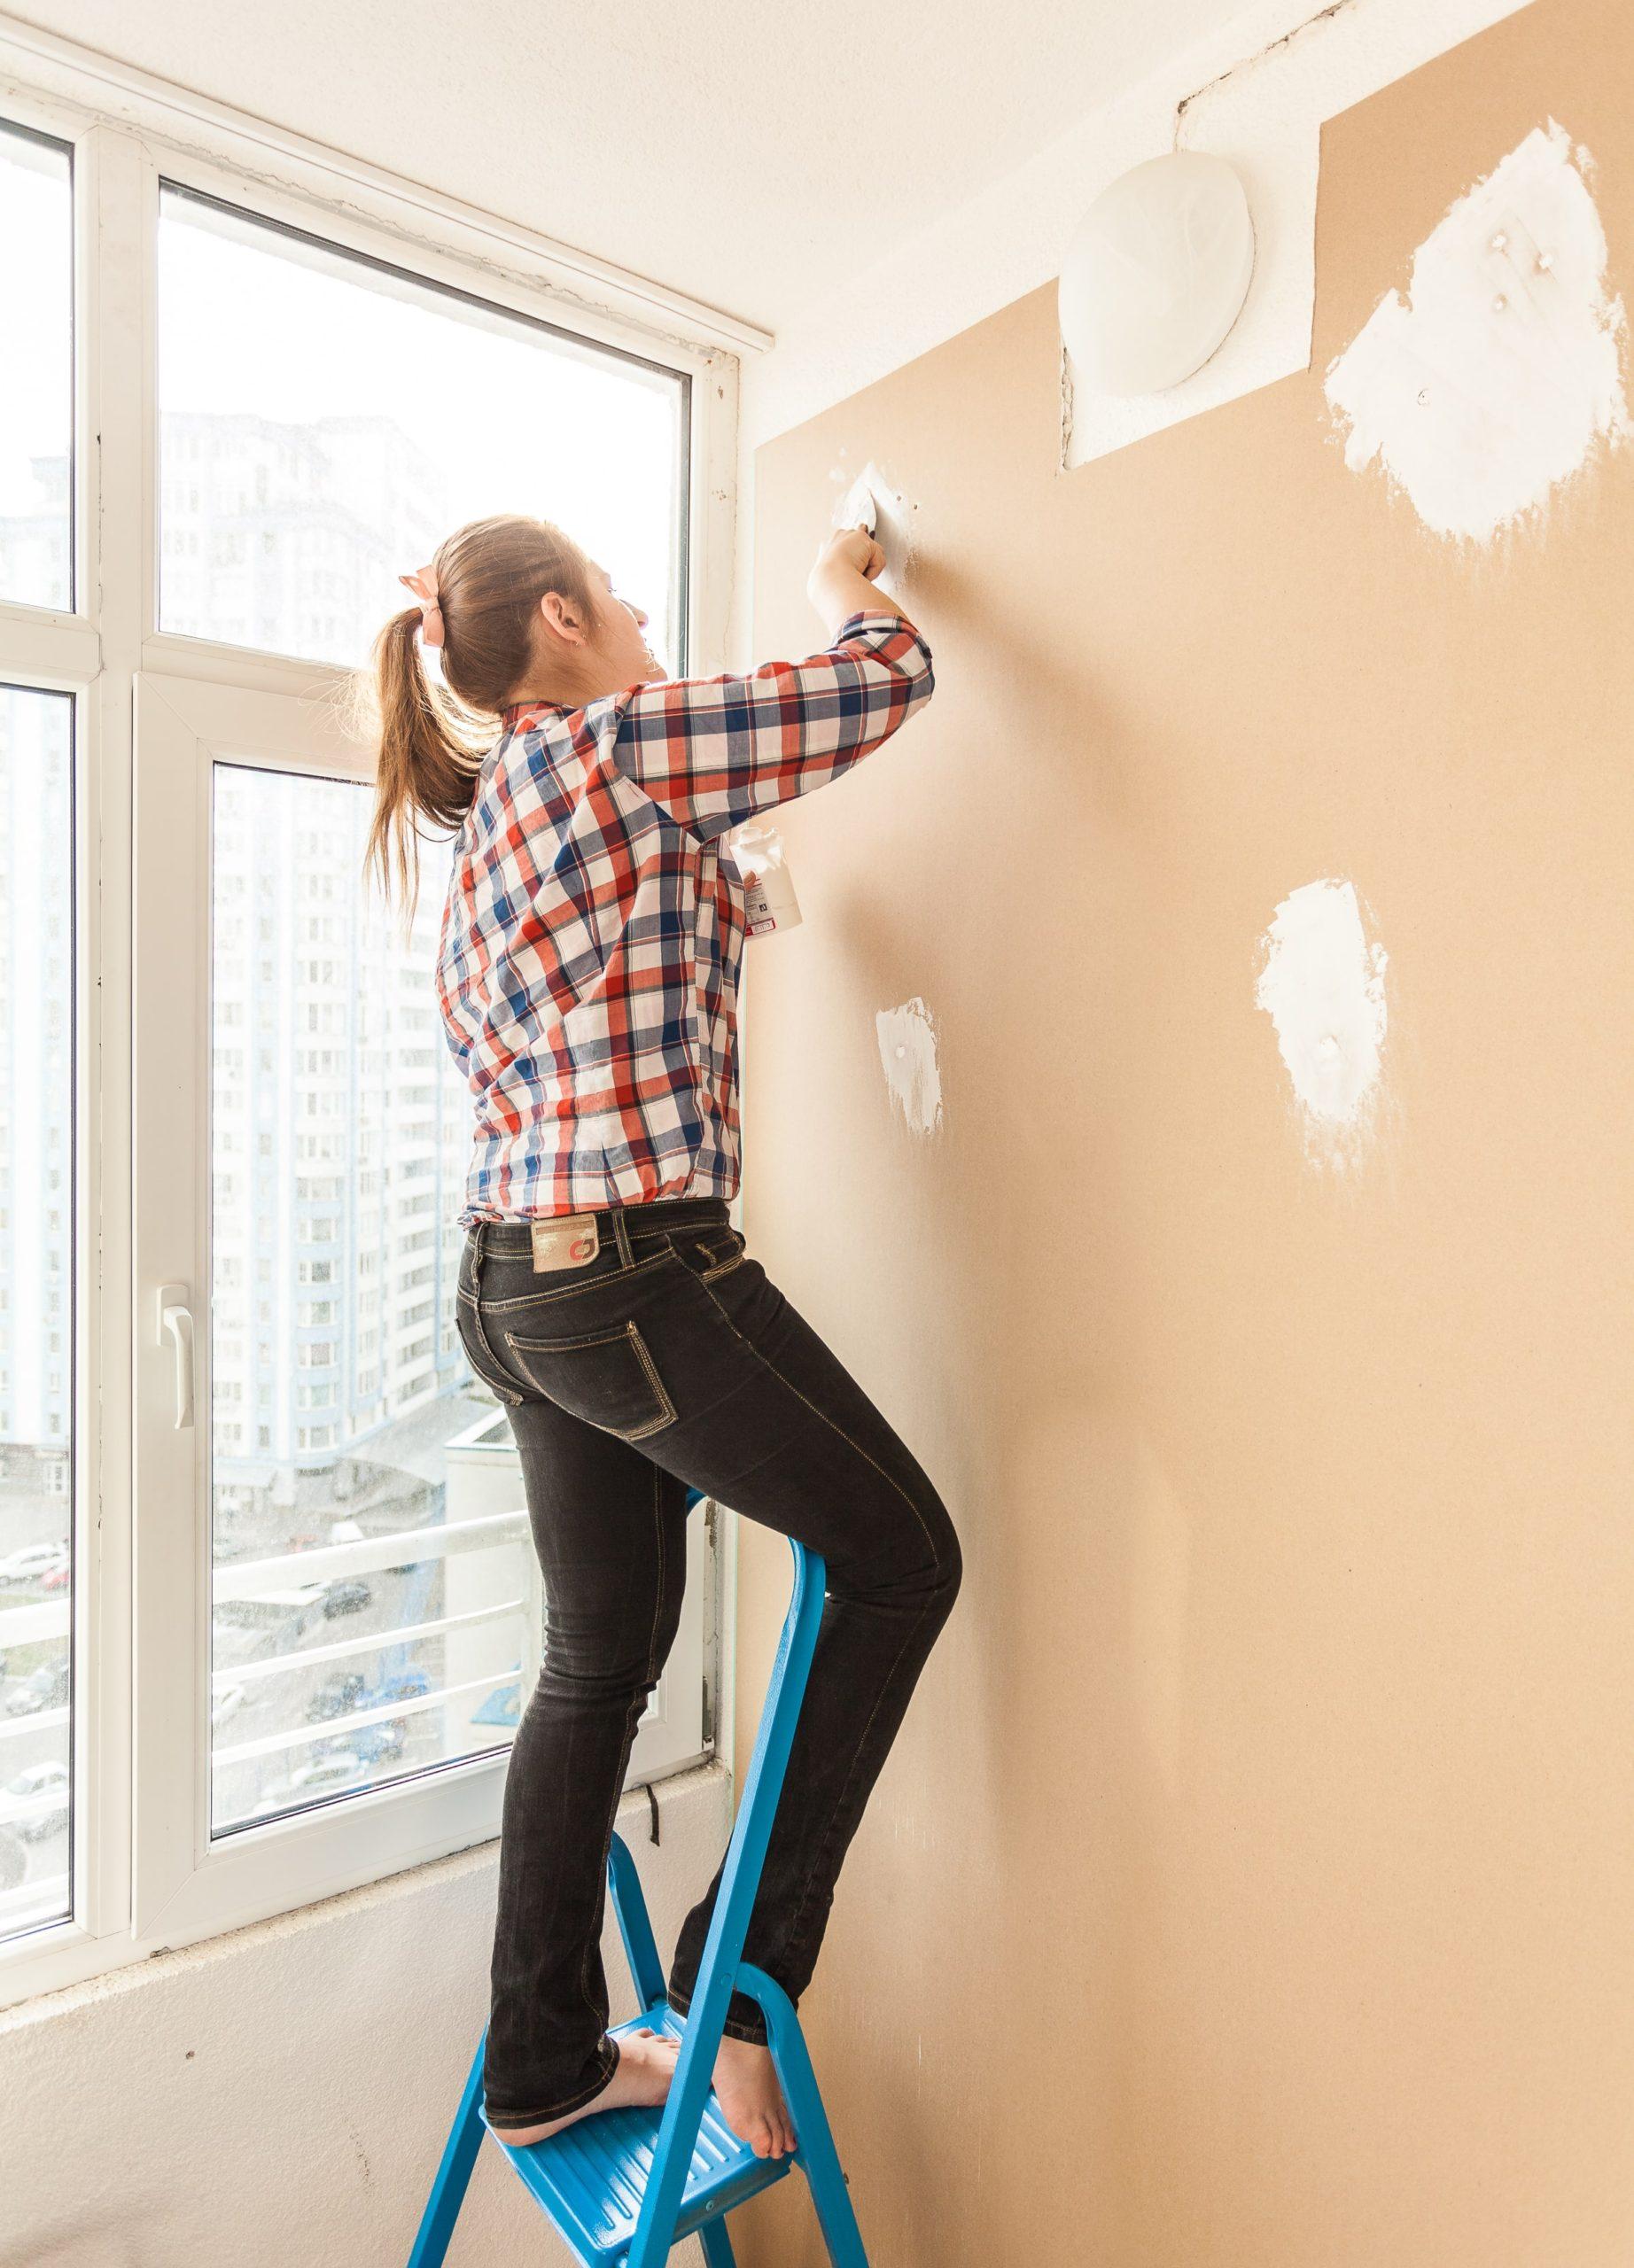
First, assess the size of the hole. For small nail holes, all you need is some spackle and a putty knife. Start by filling the hole with spackle using your putty knife and then let it dry for at least an hour before sanding down any excess material that may have been left behind.
For larger holes, such as those created by doorknobs or furniture being pushed into the wall too hard, you will need more than just spackle to get the job done properly. To repair these types of damage start by cutting out a thin layer of drywall around the perimeter of the hole using a drywall knife. Once this is done fill in any gaps between your cutout piece and wall with paper tape before applying joint compound over top – again letting it dry for at least an hour before sanding away any extra material that may remain on your wall’s surface once complete.
Take your time on the project; rushing through it may lead to needing to redo it later. It is better to spend more time ensuring everything looks perfect now than having to redo it later because something wasn’t quite right initially, so don’t rush through this project if possible.
Patching wall openings can be a straightforward and expeditious task, as long as the right materials are procured. Filling these same holes, however, requires more time and effort as it involves choosing an appropriate material to fill them with before sanding down any excess.
Filling Holes in Walls
Filling holes in walls is an important part of home repair and maintenance. It’s essential to fill any small or large holes with spackle or other materials to ensure a seamless finish.
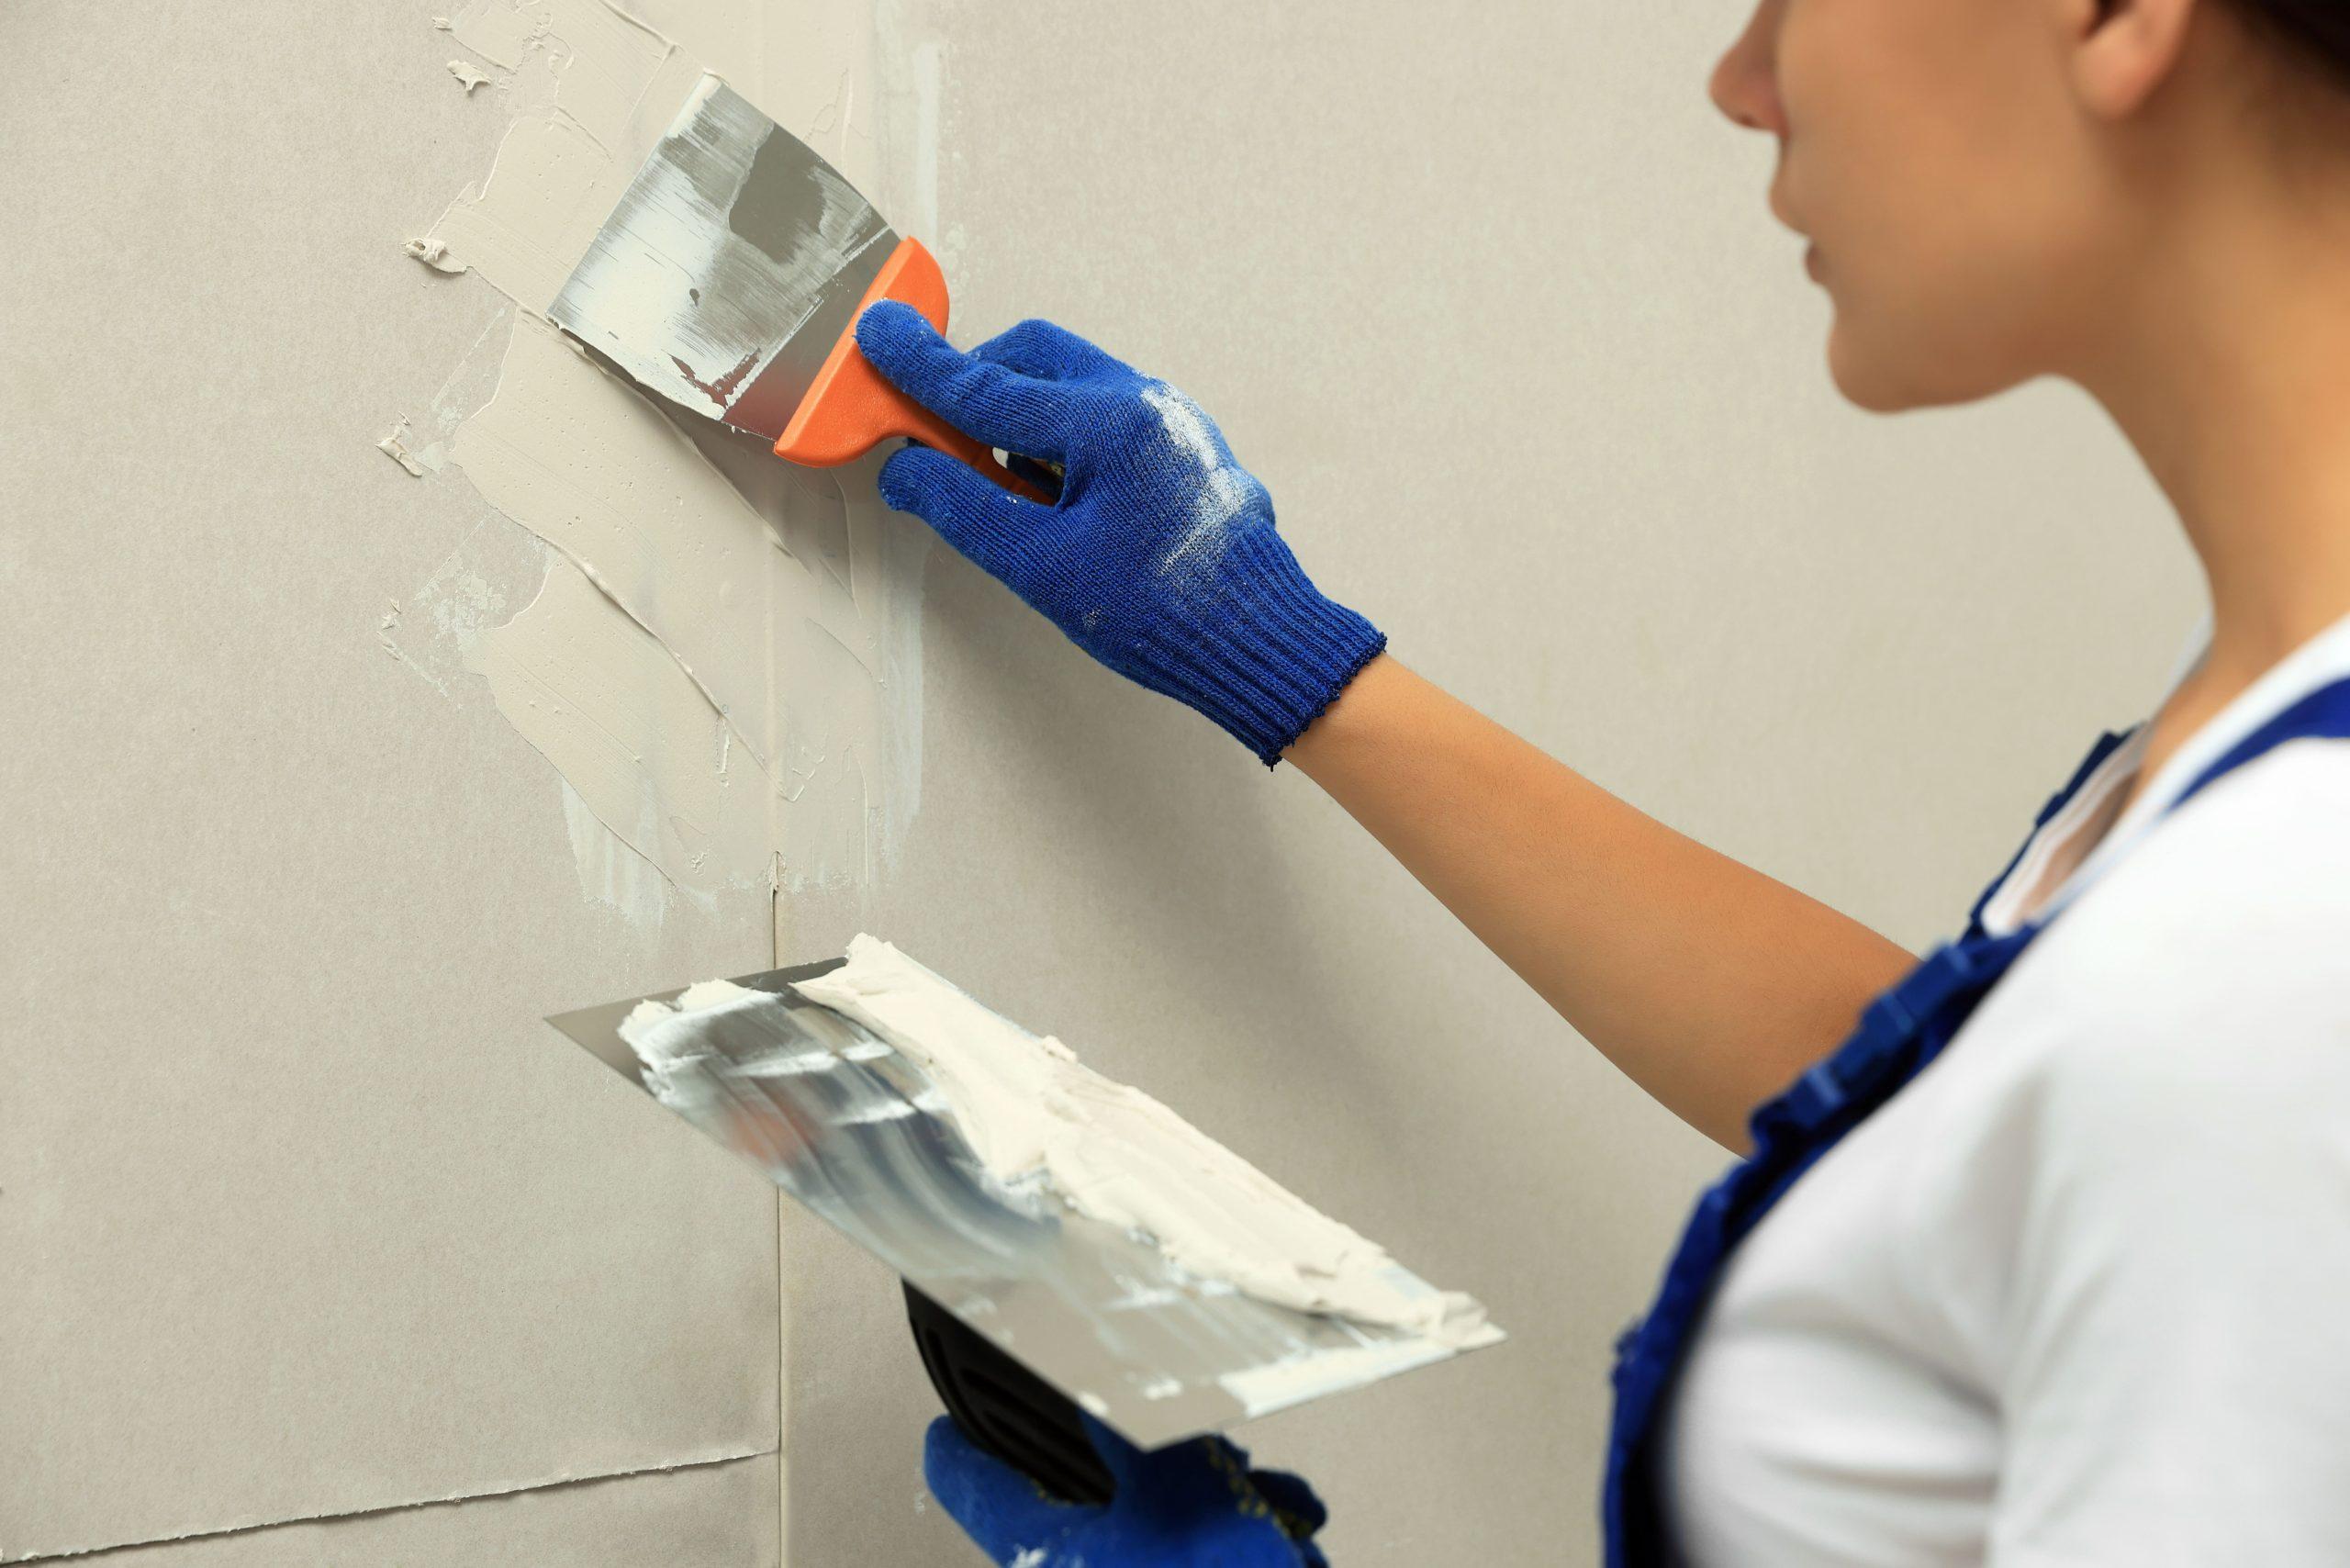
For smaller nail holes, use a thin layer of spackle on the hole using a drywall knife. For larger holes, apply multiple layers of spackle until the area is flush with the wall surface, then allow it to dry before sanding. Once you’ve applied enough layers, allow them to completely dry before sanding down any bumps or ridges that may have formed during application.
To patch larger holes in your walls such as those caused by doorknobs or furniture moving around, use paper tape and joint compound for best results. Start by cutting pieces of paper tape slightly bigger than each side of the hole so that it covers all sides evenly when placed over top. Then spread joint compound onto both sides of each piece and press firmly against the wall until it adheres securely. Allow this layer to fully dry before adding another coat if needed – usually two coats should suffice for most patches. Finally, lightly sand down any excess material from around edges so that everything looks even when painted over later on.
Patience is key when filling up holes in walls. Take your time applying each layer correctly, so that you can achieve professional-looking results without having to start all over again after making mistakes along the way. We have been there too and understand how important it is to get it right the first time.
Mending wall cavities is an important part of keeping a house in good condition and can be accomplished without too much difficulty. Painting over these filled-in areas will ensure a smooth, seamless finish that looks professional and polished.
Painting Over Holes in Walls
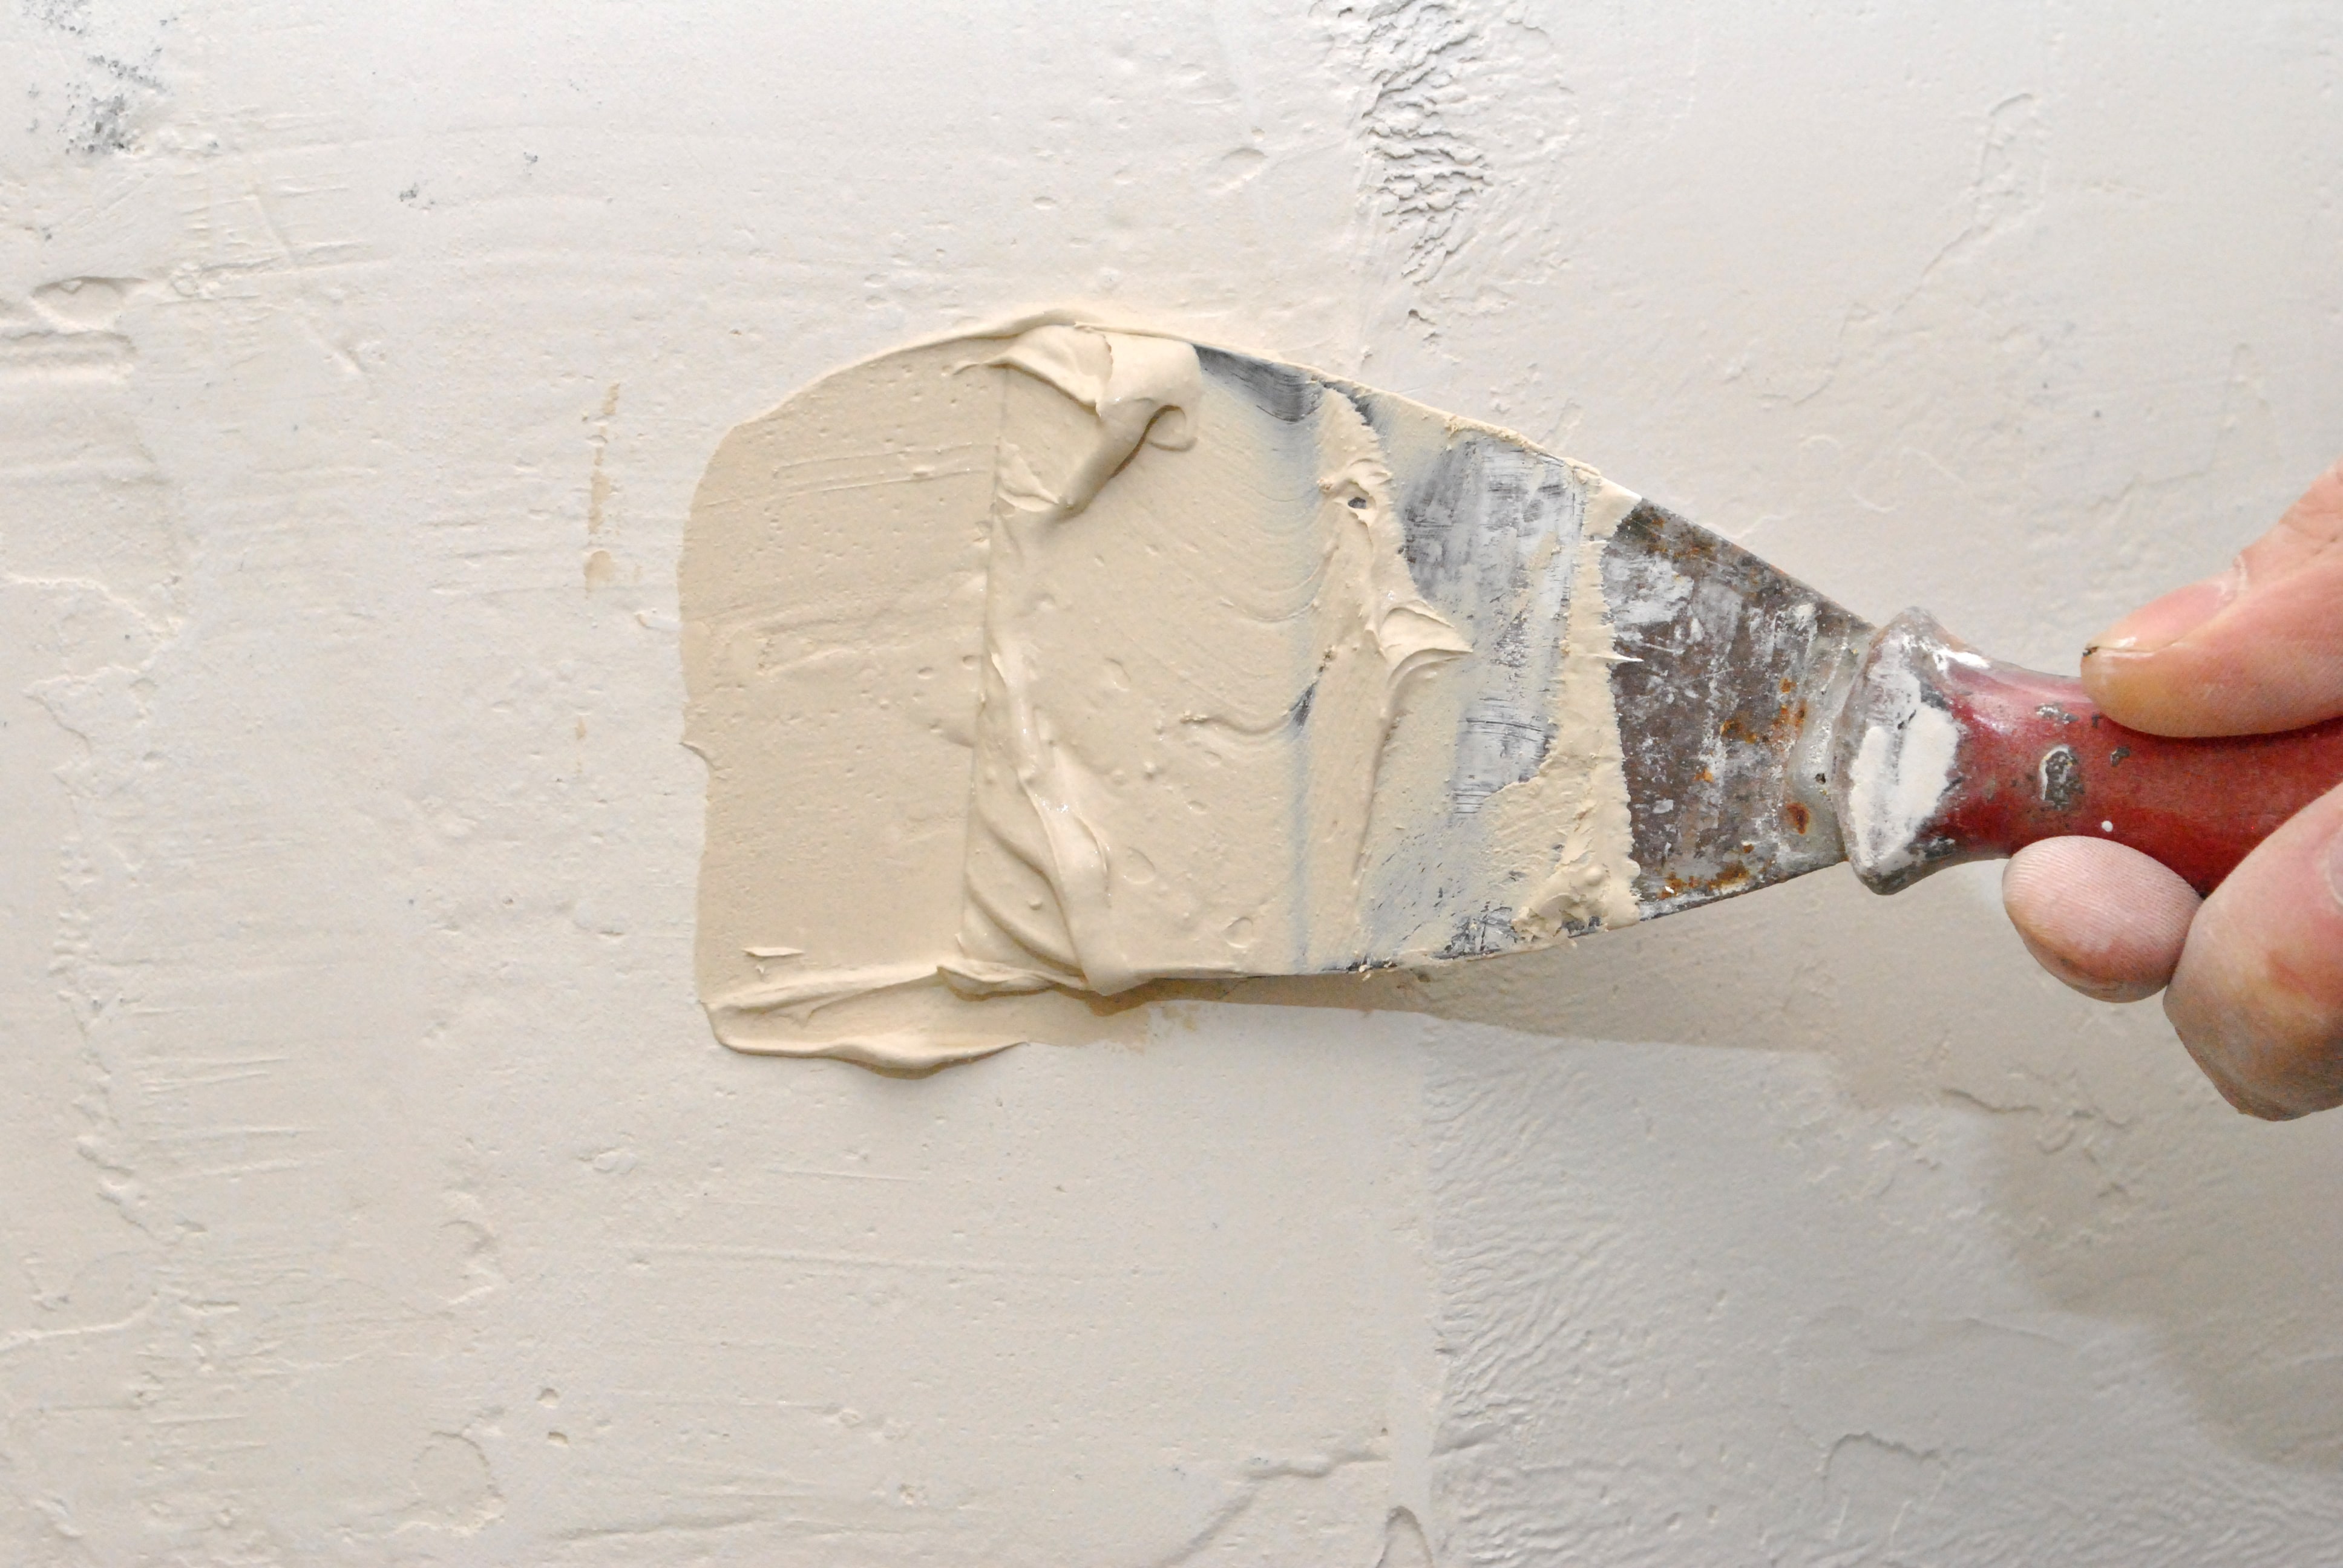
Covering up openings in walls is an effective method of achieving a polished appearance without taking up much time or funds. The first step is to patch any small holes, such as nail holes. You’ll need some spackle and a putty knife or drywall knife for this job. Start by spreading the spackle into the hole with your tool of choice, making sure it’s level with the wall surface. Once the spackle has dried, employ sandpaper to level out any unevenness and clean up the area prior to painting.
For larger holes you may need more than just spackle; paper tape can help reinforce them so they don’t reappear after painting. To apply paper tape, start by pressing it onto one side of the hole then stretching it across and pressing firmly on both sides until secure. Then add a thin layer of joint compound over top and allow it to dry completely before adding another coat if necessary – usually two coats are enough for larger repairs like these ones. Finally, lightly sand down any bumps that have appeared after drying before applying paint on top.
When painting over repaired areas like these ones, be sure not to overload your brush or roller with paint – instead use light strokes in order to avoid creating air bubbles which could ruin your hard work. Additionally, when using multiple colors in one room be mindful of how each color will look next door each other; lighter shades tend to bring out darker tones while dark hues can dull brighter colors nearby so keep this in mind when deciding which paints go where. With all that said though remember: even if you don’t think you’re an expert painter yet there’s no shame in taking things slow – practice makes perfect after all.
Painting over holes in walls is a great way to quickly and easily fix any unsightly damage. To ensure that your wall remains hole-free, it’s important to learn how to prevent future holes from occurring.
Preventing Future Holes in Walls
Gaping gaps in walls can be an unpleasant sight, but they don’t need to stay that way. By taking the right steps and preventative measures, you can keep your walls looking smooth and pristine for years to come.
Wall anchors can be a reliable way to stop holes from forming in walls down the line. Wall anchors are specially designed pieces of hardware that secure items like shelves or picture frames into drywall without leaving any visible marks behind. They work by expanding inside the wall when tightened, creating a strong bond between the item being secured and the wall itself. When used correctly, these anchors will hold up even under heavy loads without compromising structural integrity or causing damage to your home’s interior surfaces.
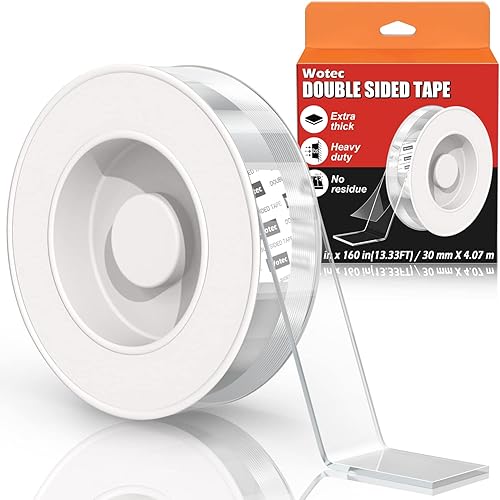
Another great way to prevent holes in your walls is by using adhesive strips instead of nails or screws when hanging objects such as pictures or mirrors. Adhesive strips provide just enough grip to keep items securely fastened while still allowing them to easily be removed later if needed without damaging your walls in any way. Plus, they’re incredibly easy to use—simply peel off the backing and press firmly against whatever surface you’re attaching it too.
If you’re feeling extra crafty (and brave), consider investing in some putty-like compounds that are specifically designed for filling small holes left behind after removing old nails and screws from wood paneling or other hard surfaces around your home. These compounds are relatively inexpensive and easy-to-use; simply fill each hole with a generous amount of compound until it’s level with surrounding surfaces then allow it time to set before painting over it with matching paint colors for seamless results.
Finally, make sure that all furniture placed near exterior walls is kept away from windowsills where possible so as not puncture through thin drywall panels due high winds blowing against curtains etc. Also check periodically for signs of moisture build up which could lead potentially cause mold growth within cavities behind plasterboard/drywall which would need attention quickly if found otherwise serious damage may occur leading costly repairs down track
No matter what method(s) you choose when attempting to avoid future holes in walls around your homestead, there is no denying that proper planning ahead of time is key. Taking proactive steps now will save yourself a lot of headaches down the road – not only financially but also mentally too – so why not give yourself peace of mind today?
FAQs in Relation to Holes in Walls
Why are holes appearing in my walls?
Holes appearing in walls can be caused by a variety of things. Common causes include rodents or insects chewing through the wall, water damage from plumbing leaks or roof leaks, and improper installation when hanging pictures or other objects on the wall. In some cases, holes may also appear due to expansion and contraction of building materials such as wood that is not properly sealed against moisture. It may be wise to have a specialist examine the wall before attempting any fixes if you’re not sure why your walls have openings.
Is it OK to leave a hole in the wall?
It is not recommended to leave a hole in the wall as it could cause structural damage and other problems like water or pest infiltration. Doing so could lead to structural damage and further issues such as water or pest infiltration. It is best practice to fill any holes with appropriate materials, such as spackling paste for small holes and mortar for larger ones. This will ensure that your walls remain structurally sound and free of potential hazards over time.
What are the holes in my walls called?
The holes in walls are called cavities. Cavities can be created for a variety of reasons, such as installing electrical wiring or plumbing pipes. They also provide an area for insulation and soundproofing materials to be placed within the wall cavity. To ensure proper installation, it is important that these cavities are properly sized and sealed with drywall compound before being covered with paint or wallpaper.
Why is there random tiny holes in my walls?
There are several possible causes for tiny holes in walls. These include pests such as mice or termites, which can leave behind small tunnels; improper use of nails and screws when hanging pictures or shelves; accidental impacts from furniture being moved around the room; and even water damage that has caused drywall to erode away. Regularly examining one’s home for any indicators of structural harm, pest invasions, and moisture issues that could be the cause of these peculiar holes in walls is crucial.
Conclusion
Holes in walls may be an inconvenience, but they can be easily rectified with the right supplies and techniques. With the right tools and materials, you can easily identify, patch, fill and paint over holes in walls with minimal effort. By taking preventative measures like wall anchors or using stronger adhesives for hanging items on your walls will help ensure there won’t be any more unwanted “holes in walls” appearing anytime soon.
Take the first step towards growing a homestead by learning how to patch holes in walls yourself. With BecomingHomegrown.com, you can find detailed instructions and helpful tips for tackling this DIY project with confidence!
Originally posted 2023-03-15 11:32:00.


