Canning is a tricky process – let’s be clear about this! After all, the idea is to create a sterilized environment to store food, and running water baths for the jars is essential. Unfortunately, the process can sometimes be complex – especially without the right tools.
In this article, I’ll run through how to submerge your canning projects and answer questions you may have along the way.
In short, do jars have to be fully submerged when canning?
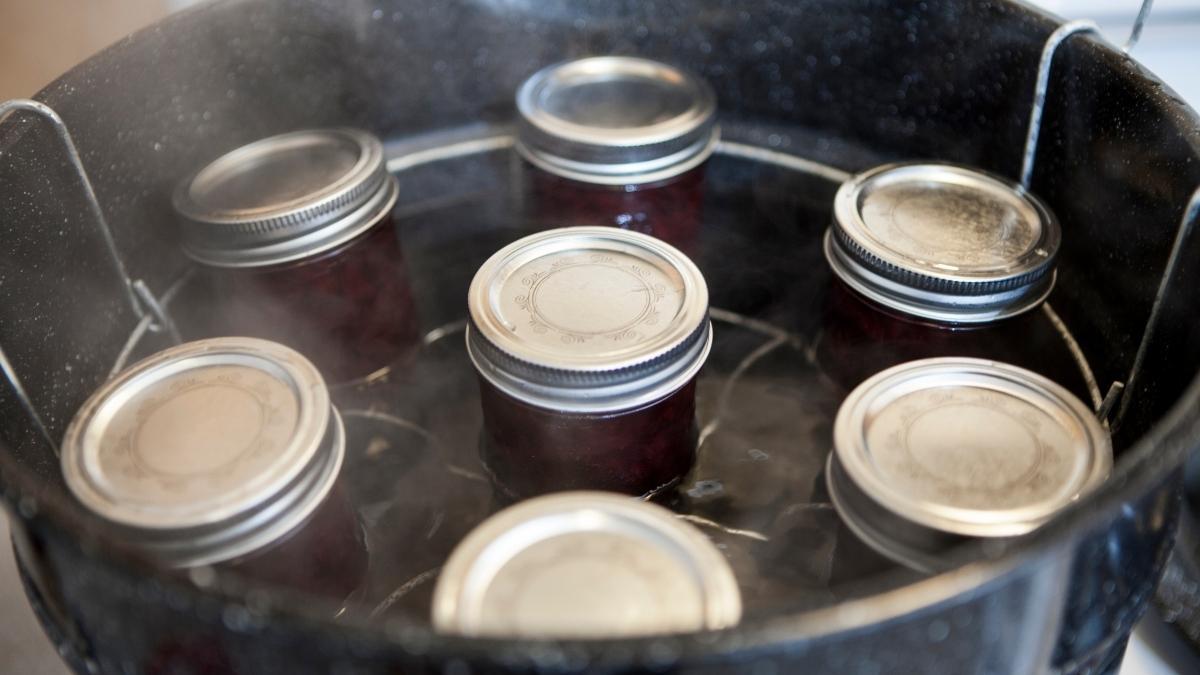
When using the water bath canning method, jars must be fully submerged with one to two inches of water above the lid of the jar, so air can escape and not find its way back in.
Keep reading the rest of this article to learn the whole process!
Fully Submerging Jars During Water Bath Canning

To fully submerge the jars during water bath canning, your vessel must be at least four inches taller than the tops of the jars you’re using. It needs two inches for the water and two inches for the space above the water.
You may also need to account for enough additional space at the bottom of the pot for the canning rack.
Before you begin canning, make sure the recipe you’re using is compatible with water bath canning. Recipes with this method have to be acidic enough to stave off botulism spores. If your recipe doesn’t specifically say, you can test the acidity yourself with a pH strip, making sure it’s 4.6 or below.
That being said, if you’ve got a recipe that’s safe for this method, the most basic way to can at home is to use a tall pot and a wire rack. If you don’t have a canning rack, you can place extra canning rings on the bottom of the pot.
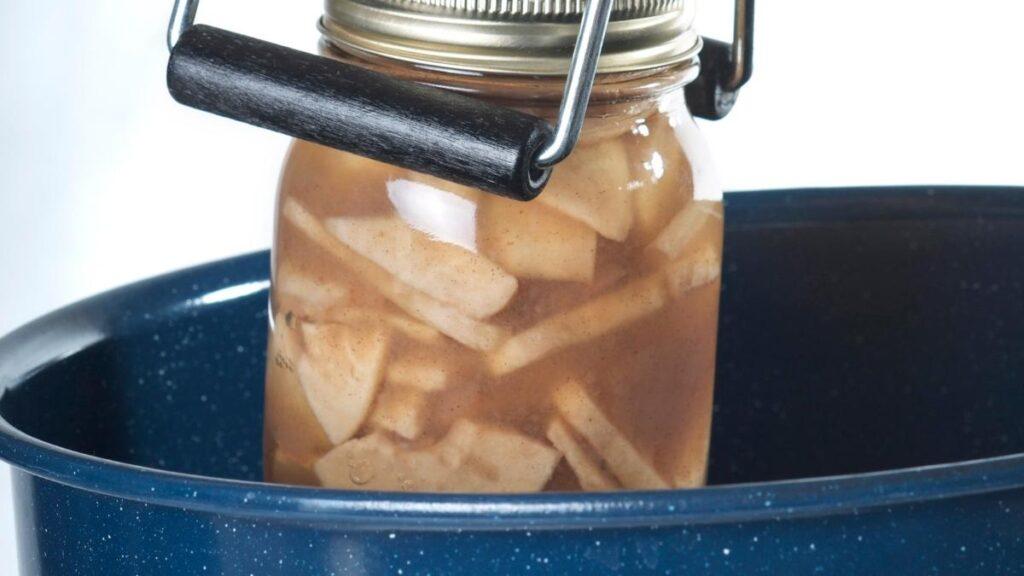
First, after your empty jars, rings, and lids have been washed and your jars are filled with warm water, boil your water to a comfortable, rolling boil that won’t rattle the jars too much. Fill a kettle or another pot with boiling water. After you’ve placed your canning materials into the jar and screwed on the lid to a finger tightness, place the jars into the pot on top of the rack or canning rings. Do not place the jars into the pot without that cushion on the bottom.
Using the boiling water you’ve prepared, add any additional water to a maximum of two inches above the surface of the jars, making sure to leave another inch or two of space above the surface of the water to account for the rise in water level and the boiling of the water.
What To Do When Canning Jars Floating In Water Bath
Floating jars during water bath canning may be caused by improper headspace when filling the jars. Make sure you’re filling to the appropriate headspace and eliminating air bubbles with a wooden spatula to keep the jars from becoming buoyant.
Floating Due to Improper Head Space
When you’re filling the jar, it’s essential to make sure the jar is packed enough that your food isn’t floating, and you can eliminate extra air bubbles with a wooden spatula by running it around the inside of the jar.
The recipe for your canning project should also state the appropriate headspace required for your food. For example, in this recipe for fig jam, you need to leave a 1/4 inch headspace – and this recipe for dill pickles requires a 1/2 inch headspace.
This means that there should be 1/4 or 1/2 inches (according to the examples) between the bottom of the lid and the top of the food or liquid in the jar.
Having too little headspace could cause a jar to break, but having too much headspace could cause your jar to grow a party in the boiling water! Use a ruler to measure this out because headspace is essential for keeping the jar airtight and sanitized.
Floating Due To A Too Strong Boil
Another reason jars might float during a water bath is the water is boiling too much. While you do need a good rolling boil, if your jars are getting thrown around like Mardi Gras beads, it’s okay to turn it down a notch.
How Long To Let Jars Sit After Canning

After removing the jars from the water bath, finished jars need to sit undisturbed for anywhere from 12 to 24 hours to seal correctly. If the contents shift from moving the jar, it could result in a seal failure, requiring the contents to be re-prepared.
Jars that have sat for 24 hours can be tested to ensure they’re sealed by removing the band and lightly trying to pry the seal open. It should take a lot of force to break off the seal on an adequately made jar.
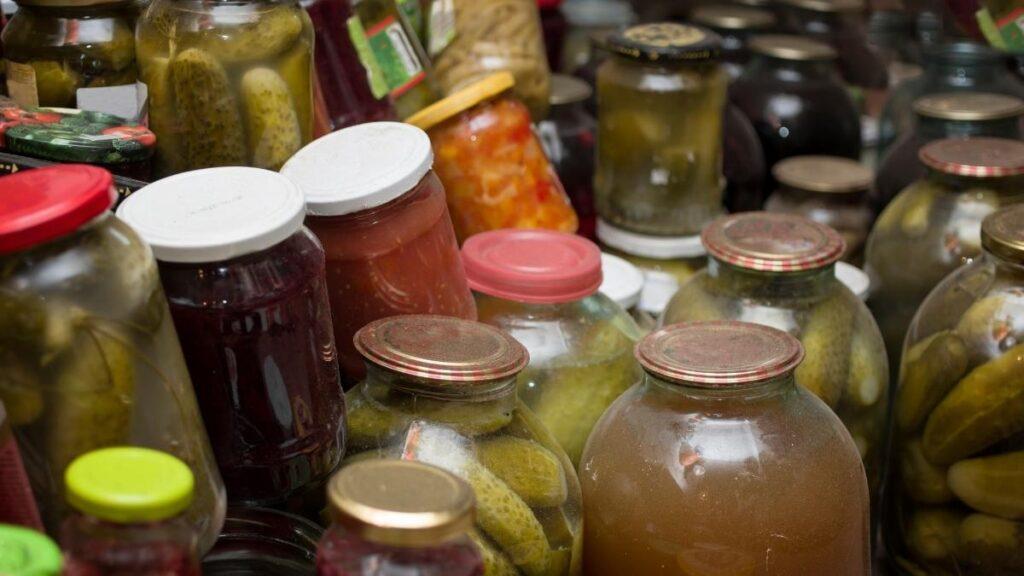
When the jars have been prepared according to all safety procedures, they can sit in storage for sometimes as long as 18 months, depending on the recipe and the jar.
Why Did My Jars Break In The Water Bath?

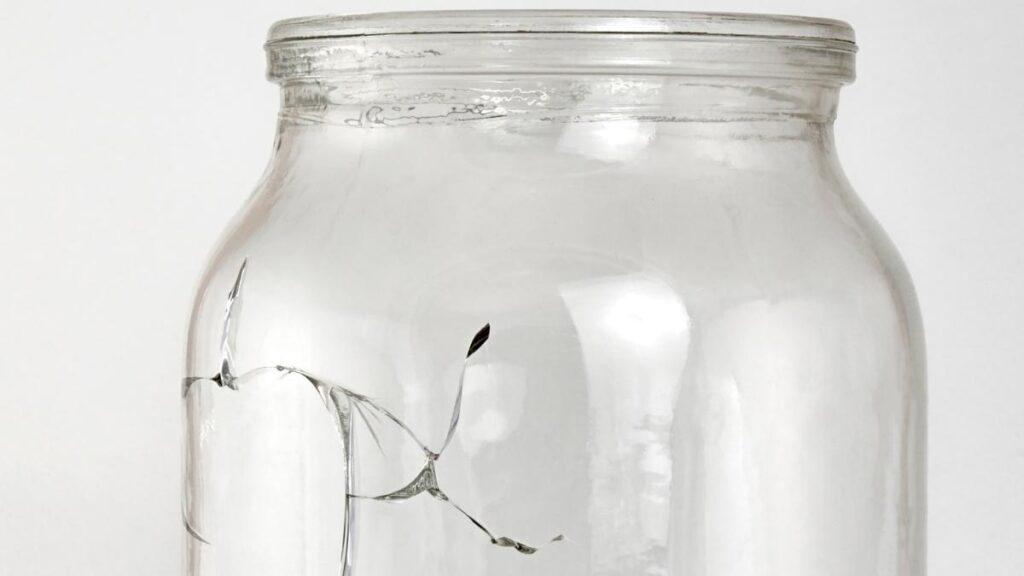
Jars can break for a few reasons: either they weren’t made for home canning, they were cracked or old, the temperature of the jar and the water were too different, or the jars were sitting on the bottom of the pot.
A jar might break while canning because it isn’t of the proper strength to withstand canning. Buying a craft or decorative jar won’t be sufficient to withstand the heat of the canning process. Rather than buying a cute jar, go with brands like Ball Mason, which are designed for canning.
The second reason is that the jar is past its prime to continue being used for canning. If the jar already had a crack or had been used too many times, it might not have been in a condition to withstand the process as well as it once did. It’s okay to retire these veteran jars so you don’t have floating pickles in your canning bath.
Third, the temperature differential between jar and water is too large. If you have a cold jar and put it in hot water or a hot jar and put it into cold water, the glass will crack because the heat or cold can’t escape uniformly.
The fourth and final reason is that the jars were sitting on the bottom of the pot too close to the heat source. This is another issue of a heat differential that is avoided by using the heating rack or canning lids to give it a cushion of space.
Now that you’ve found a few nuggets of wisdom on common failings and questions around canning with water baths, you can adequately submerge your jars, make sure they don’t float, and keep them from breaking. You can enjoy your safe and effective canning from home with just a stock pot and some canning lids. Now you know!
Originally posted 2021-12-27 04:37:18.
