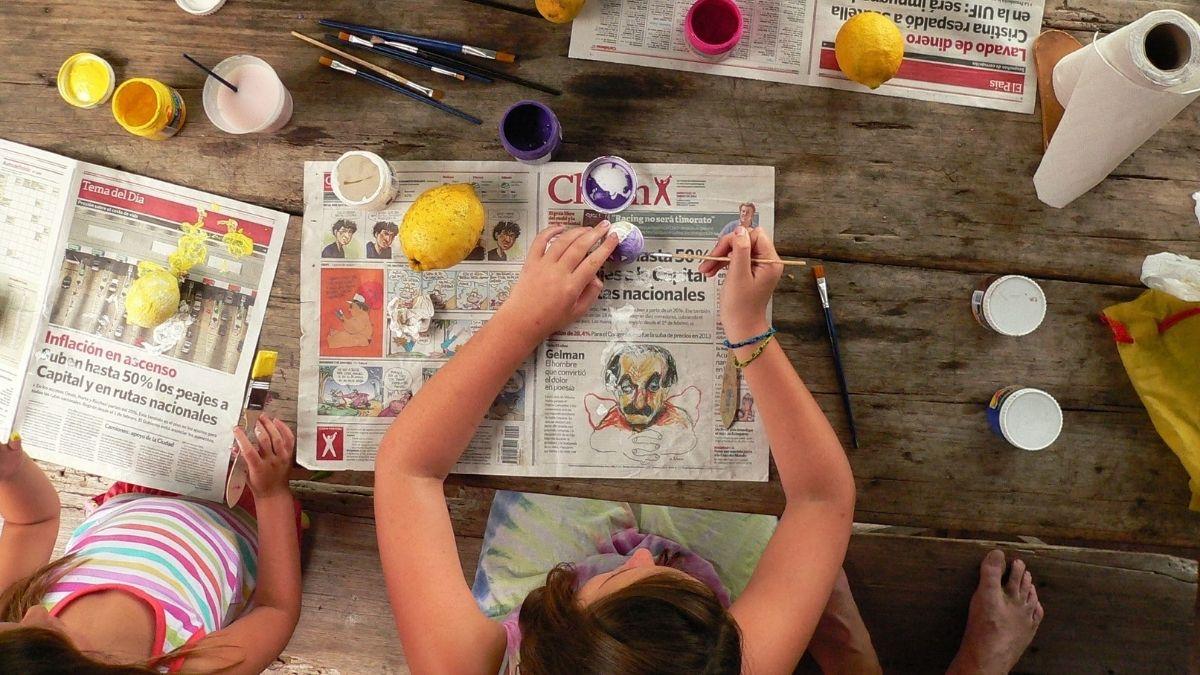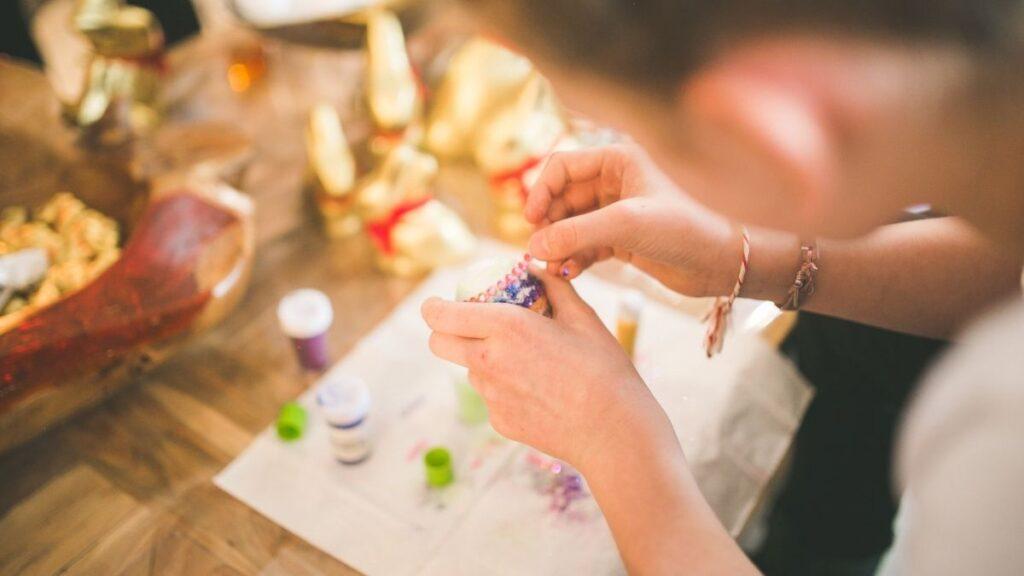
Craft helps foster creativity in children and brings a sense of achievement of what they create – so why not give them a few ideas to help stir up some imagination?
In this article, I’m going to give you some great ideas for the best crafts for 8 year olds!
8-year-old children are at just an early enough age to really get into crafts and start developing tastes for all things creative. This is a fantastic time for parents to give them the scope – and inspiration – to learn various skills that could help them flourish in the future. I’ve helped my own kids along with all kinds of arts and crafts from early ages!
The best crafts for 8-year-olds may not distract them from their phones and consoles forever – but they’re a great way to help boost their skills for the years ahead.
Craft Ideas: Are They Ideal for Kids?

There are plenty of craft options available for kids of all ages. There is no restriction upon age for kids to start developing craft learning skills! However, you need to keep in mind to buy craft kits specific to a particular age – consider safety and usability, for example!
However, don’t just rely on ready-made kits – parents can also teach their children to make crafts from items available all over their homes. It’s a great way to really tap into the heart of true creativity – make masterpieces from everyday items!
Worried now might not be the best time to start getting your kids into crafts? You might be pleasantly surprised. Keep reading for some serious inspiration.
Crafts Ideas For 8 Year Olds You Can Do At Home
Here are some brilliant crafty ideas I’ve tried myself at home with the kids – give them a go and see how you get on!
Ice Pops with Pompoms
Buy up some pompom balls available at craft stores and save a few ice cream sticks. You have pretty much everything you need to create crafty ice pops – without the ice!
Supervising your kids, you can help your 8-year-olds replace tasty treats with pompoms or other materials if you wish! You’ll get a fun kind of ornament out of this craft that can be used for even bigger projects.
Flower Pens
Get some plastic flowers from hobby stores or decoration specialists, and stock up on colorful pens from a stationery store.
Make sure you have transparent or green tape, too. Eensure that the flowers you have picked have thin stems, so that you can insert them into the back-end of the pens.
Once you have inserted your stem, wrap it around with green tape right at the blooming edge of the flower. Then, wrap the tape around the pen’s body to give it a natural look. Voila – stunning, springtime stationery – great for making displays with in jars and pots!
Colorful Butterflies
Butterflies are gorgeous to watch in real life, but why not make your own at home, too? Your kids can color white paper with their favorite shades for this task, but they can also use colored paper directly.
Squeeze the paper you’re using in small folds from top to bottom horizontally. Then, tape it from the center. Now, take the scissors and ask your child to cut the edges in the shape of a butterfly, supervising them as they do.
For the final touch, you can use pieces of wool to make the butterfly’s antennas and paste it at the center.
Natural Collage
This activity is great fun if you have a stack of family photos that you and your kids want to really show off.
Start by getting a photo that’s around 8.5 inches by 11 inches. Now, go out with the kids and collect some natural supplies! Get some thick leaves, flowers, bark, and twigs – the world’s your craft box!
Once back home, start by glueing the bits and pieces you’ve found around your photos and leave to dry. Hang the creative art on your house wall, and you will have the collage ready to admire.
Always remember to wash your hands after handling any natural items you’ve found outside – and when collecting shells at the beach, for example, it’s best to clean them all the more carefully.
Build a Box Fort
Making and decorating a box fort is great fun for kids (and parents too!). Cardboard box forts are the most straightforward and customizable type of fort to make. Still, you can also get creative with other materials, too! Let your imagination guide you – or your kids’ imaginations, in any case! You can find out exactly how to make an excellent box fort here.
Handmade Tiles
It’s time to hit the tiles – with some brilliant handmade craft pieces you can use to decorate and show off your kids’ creativity. So long, fridge drawings!
The basic ingredients you’ll need here are ½ cup of water, ½ cup of flour, ¾ cup of salt, a mixing bowl, a sheet tray, acrylic paint, paintbrushes, a rolling pin, and a mixing spoon.
Take the sheet tray and prepare a flour tile – simply mix water, flour, and salt in a bowl. You need to knead it for around two minutes and roll the dough into a square shape. That’s your tile good to go!
Now, use cookie cutters to give it a more interesting shape. You can also use rubber stamps or other small objects to design. When finished, let the flour tile settle on a sheet tray under sunlight.
Let it settle down for a few hours, and then you will notice changes in the dough. Now, flip it to dry the bottom side. After both sides are dry, you can color the tile with acrylic paint and let your child decide upon which colors they’d like to complete it with.
To Sum It Up
These are just a few of the best crafts for 8-year-olds that I’ve personally helped my kids with over the years. Why not take a further look at crafty boards across Pinterest, or search hashtags on Instagram for more ideas?
Getting crafty at home is really important for child development! Don’t be afraid to let art class extend beyond school hours occasionally.
Originally posted 2021-12-21 08:16:59.
