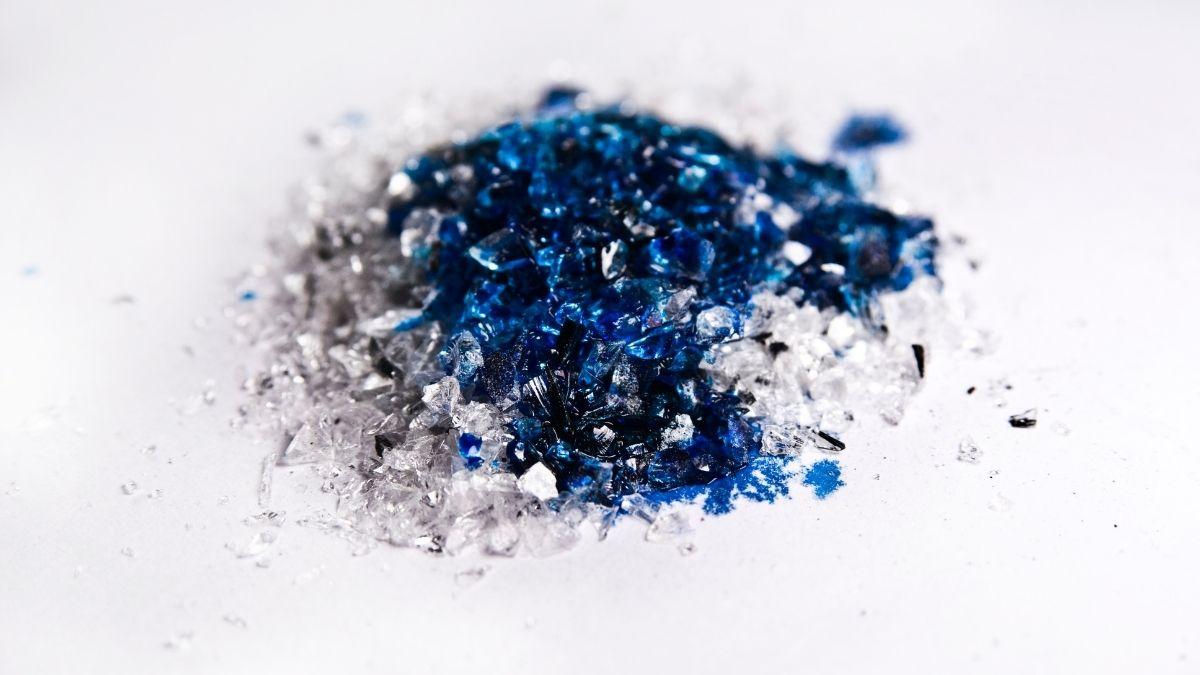
Making crushed glasses is an inexpensive way of making your crafts look mesmerizing. If you ever have bought them from craft stores, you might know how pricey they are!
Learn how to make crushed glass for crafts and you’ll save money, and add a desirable, majestic touch to a variety of pieces. Let’s get started!
Step 1: Crushing Glass with Hammer

First, you will need some glass to crush. Old wine or beer bottles will be a great option, or you can easily get some ready-made glass gems or stones from craft stores.
A handy tip – you might have to ask for ‘vase fillers’ at some stores!
Once you have glass to hand, it’s time to start crushing:
- Make sure you wear gloves and protective goggles before you get started!
- It is better to heat the glass stones and cool them with ice water to crack them before smashing them.
- To do this, take a pot, heat it for around five to ten minutes, and add the stones. Keep the lid on in case any glass stone explodes out of the pot.
- While it is heating, you can pour some water and ice into a big bowl.
- When the glass stones are hot after ten minutes, sieve the stones out and then carefully drop them into the ice water bowl. The breaking process will begin thanks to the extreme temperature change.
- Drain all of the water and set your glass stones to dry.
- Place all of the glass stones or gems on a cloth that is placed over, ideally, a concrete slab or floor.
- Wrap the cloth up to ensure that your pieces do not fly around everywhere while you smash them.
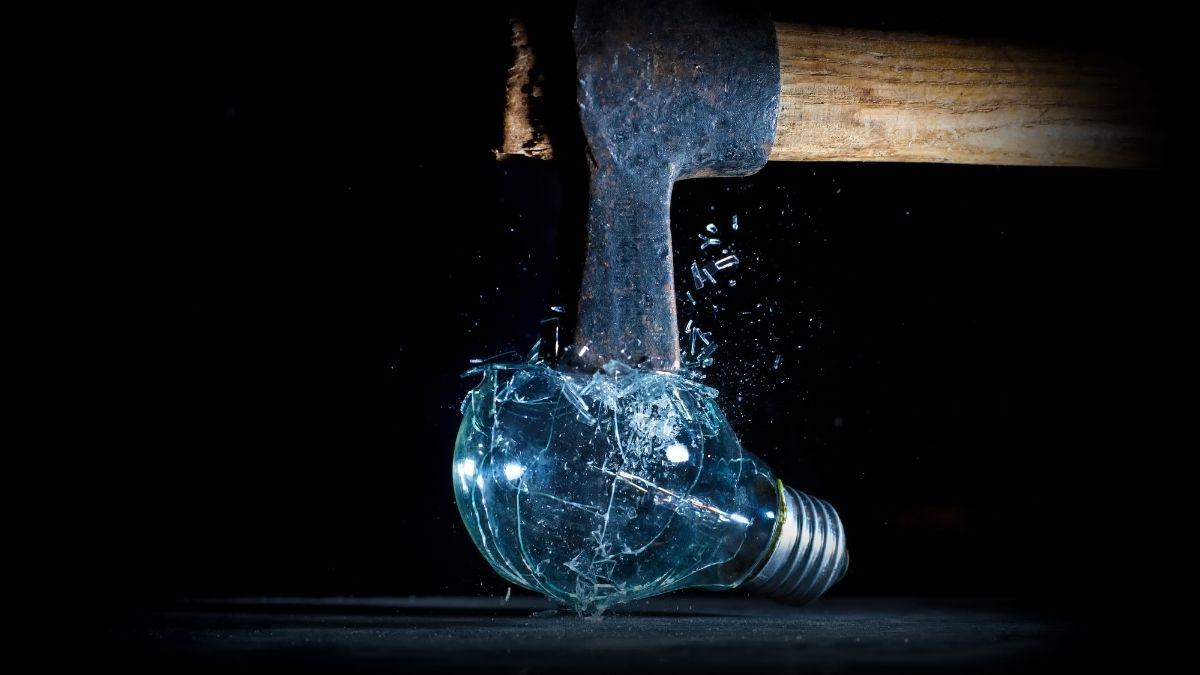
- Grab a hammer or mallet, and carefully smash and crush your glass pieces, being careful with any space around you.
Step 2: Coloring the Crushed Glass Pieces

If you already have colored glass available, you can skip this step.
However, if you want to color it after crushing, no problem!:
- Firstly, prepare a few bottles of alcohol ink – you’ll need these to provide the dye.
- Take the crushed glass pieces and place them in a small container. You can color them with any ink you want, but if you are using a lighter shade, you may need to darken the color before using it – it’ll apply easier.
- Use the dropper of your chosen alcohol ink bottle to pour four to five drops, which might vary depending upon the size of the container and quantity of glass pieces you have available.
- Use an ice-cream stick to stir the crushed glass pieces and spread the color around. If it seems like you haven’t added enough color to your container, then just add a few more drops.
- Keep mixing until you see the colors changing. After mixing them well, let them settle down.
Here’s a video guide to show you what I mean!:
Step 3: Gluing the Crushed Glass

Now, you have your crushed glass pieces ready to use in your craft!
If you like, you can apply a clear coating of liquid varnish to the craft surface. Then, you can place crushed glass pieces over the top. Let it settle – and you’re halfway done. You can always check samples to get an idea of how to glue them to add extra creativity to your craft.
If you are looking for alternatives, you can use resin or clear craft adhesive, which you will find in craft or hobby stores. You’ll need to use them in the right quantity to avoid spilling over the canvas, however.
In some cases, crafters have even pasted crushed glass stones by just aligning them over fresh acrylic paints.
What is the Difference between Using Crushed Glass and Glass Beads?
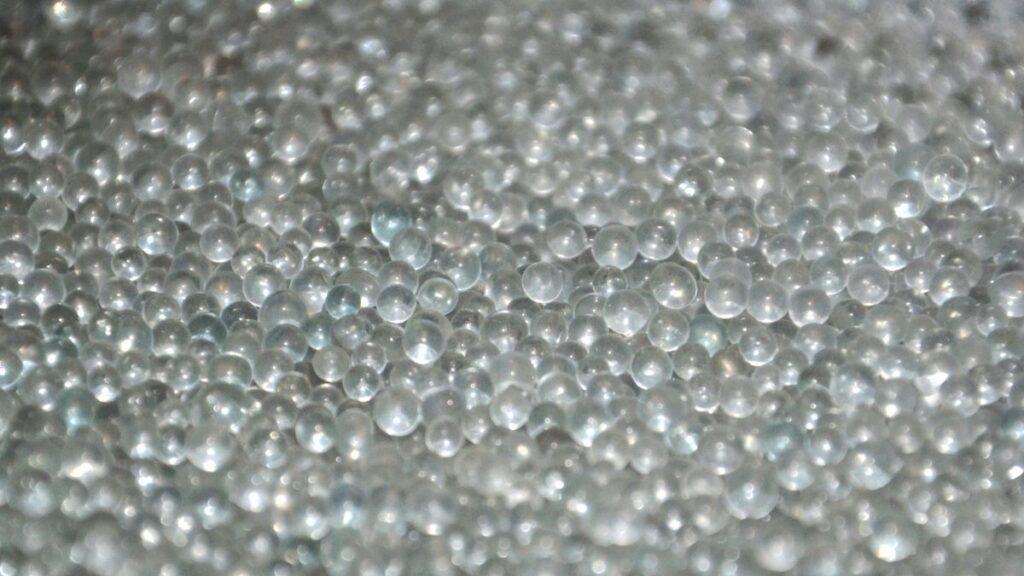
Both glass beads and crushed glasses, are used in craftworks. Glass beads are ideal for a metal finish, whereas crushed glass is perfect for all types of creative crafts.
If you want to give soft finishes to your craftworks, pick the glass beads over crushed glass pieces. But, if you intend to add a little etch upon the craft canvas, then crushed pieces will do the job perfectly.
The best thing about glass beads is that they are reusable and can be recycled. Moreover, crushed glasses can be sourced from recycled materials such as wine bottles, beer bottles, and more besides. Both options work well for different styles!
Summary
Crushing and coloring glass for crafts might seem tricky, but providing you wear safety equipment and take your time, you’ll soon have a wonderful craft resources for use across a wide variety of different projects.
If you found this article useful, you’ll probably also like to learn about how to paint pavers for crafts elsewhere on my blog!
Originally posted 2021-12-21 09:33:38.
