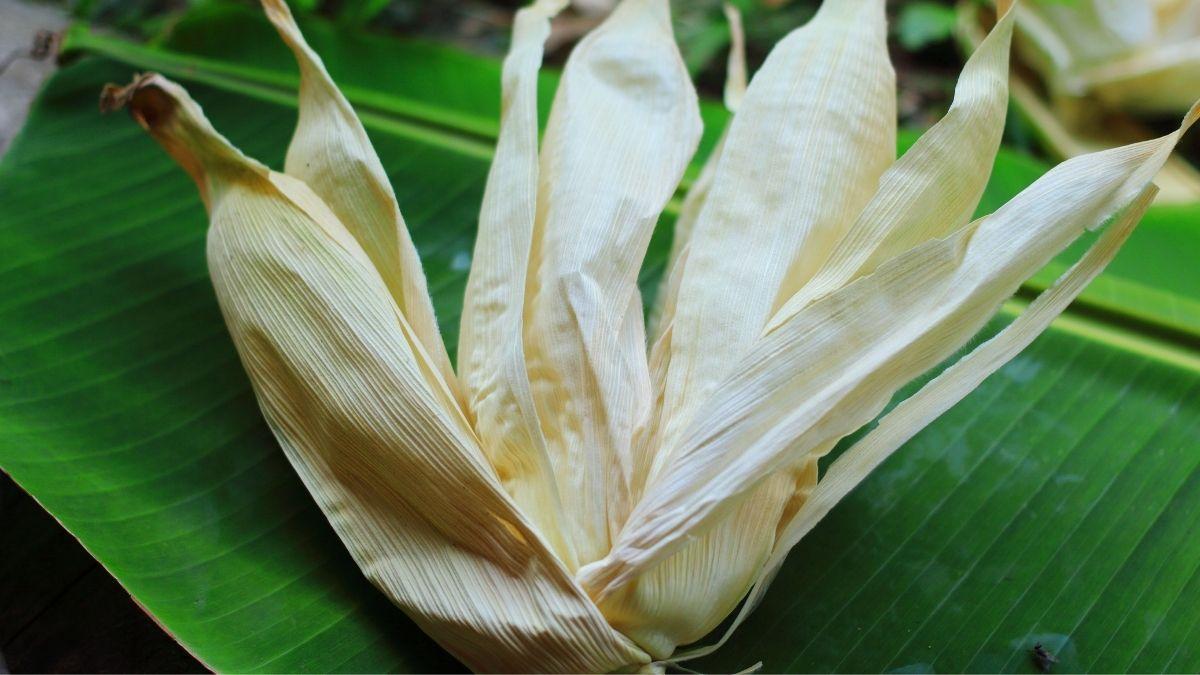
Long before we could buy toys in stores, corn husk toys were commonplace and had that old-fashioned charm kids don’t get to see anymore. Those were the days!
Thankfully, corn is cheap, and I love that corn husk crafts like dolls and flowers are easy to get the kids involved in creative fun. I also make wreaths with them to beautify my front door for the fall. Its rustic look always fetches a lot of compliments!
Drying your husks is vital before you begin working with them – if they have any moisture, your crafts will develop mold. In this post, I’ll show you how to dry corn husks for crafts.
The Best Method for Drying Corn Husks for Crafts
Look for cobs with large, unblemished, and unbroken corn husks, since these are the easiest to make crafts with. Then, cut the cobs at their bases and peel the husks off the corn. Place the husks on a newspaper and let them rest under the sun for three days.
If you find peeling the husks troublesome, you can microwave the cob for one minute after cutting the base off. You will then be able to pull the husk right off without any hassle.
Can Dried Corn Husks Go Bad?
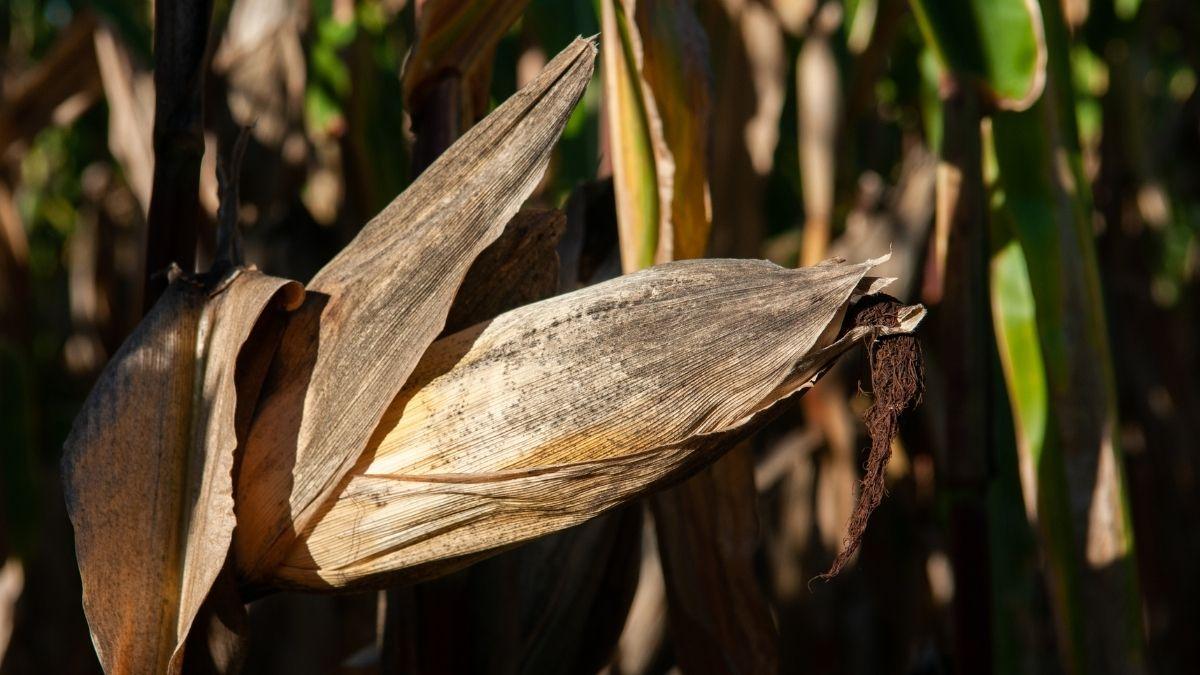
Corn husks don’t get moldy if they are properly dried and kept dry. If you’re using store-bought husks for crafts, you don’t have to worry about them going bad since companies use preservatives to keep them mold-free.
However, if you’re cooking with store-bought corn husks and find them too dry to eat, soaking them in the water for a few minutes should fix it.
How Do You Get Mold Off Corn Husks?
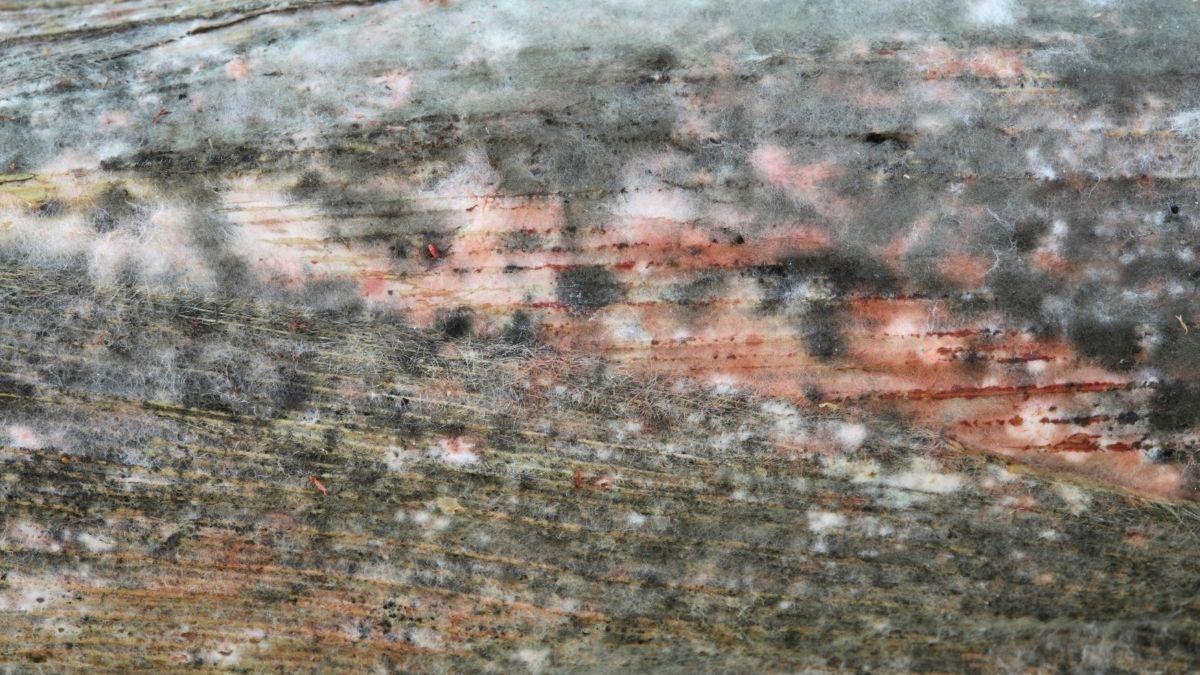
First, move the corn husk craft to a hot environment and let the mold lose moisture. Take note, this can take a few days.
Next, take a brush and gently remove the now powdery mold from the husk. Then, cover the vacuum’s nozzle with a fine net or pantyhose, and vacuum away the remaining mold powder.
This way, you won’t destroy the corn husk craft when vacuuming away the mold particles. Make sure you use a vacuum cleaner with a HEPA filter, or all of the mold spores will get stuck in your vacuum and spread around your home.
When using the vacuum, work the mold out from the husks with your brush. While brushing away the mold from the craft’s surface, occasionally clean the brush on the net over the vacuum nozzle.
It helps to have someone holding the vacuum and controlling the suction as you clean the cornhusk craft.
Craft Ideas with Corn Husks
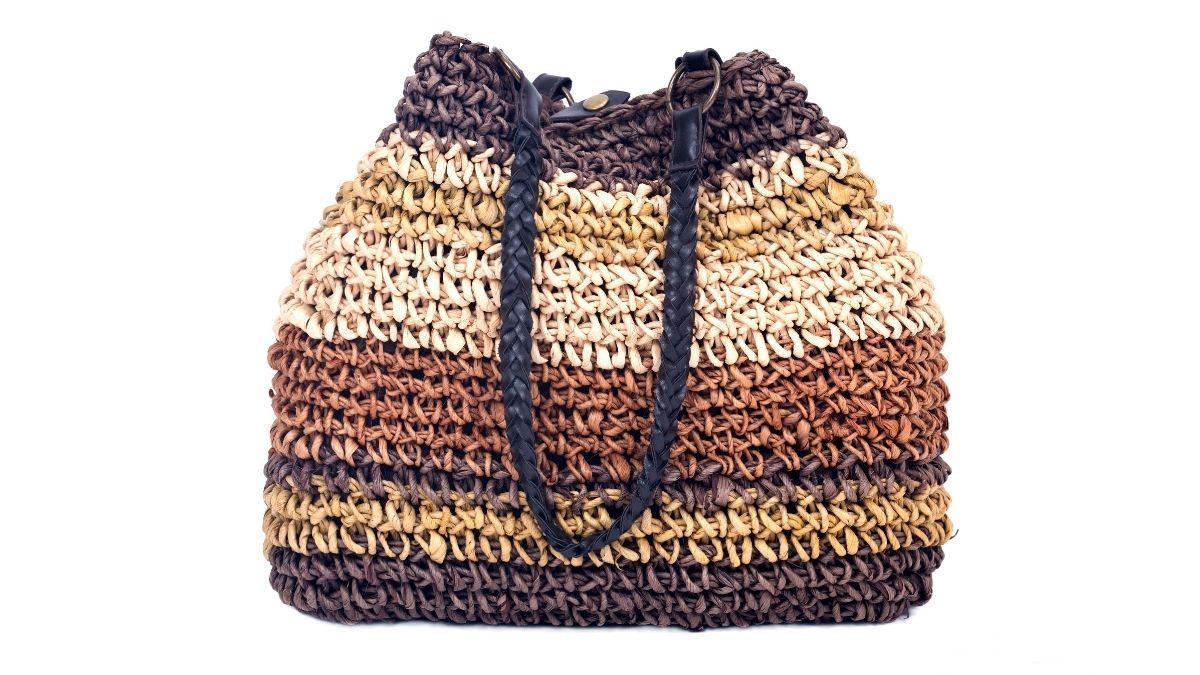
There is a surprising mix of things you can make with corn husks, it’s a bit of a wonder material and lasts a long time with the proper preparation – you could create your own “straw” handbag made purely from corn husks, for example!
Besides a corn husk bag, you can also make dolls, flowers, and fall decorations like wreaths with corn husks.
Here are easy guides to some of my favorite crafts to put together with corn husks:
How to Make Dolls with Corn Husks
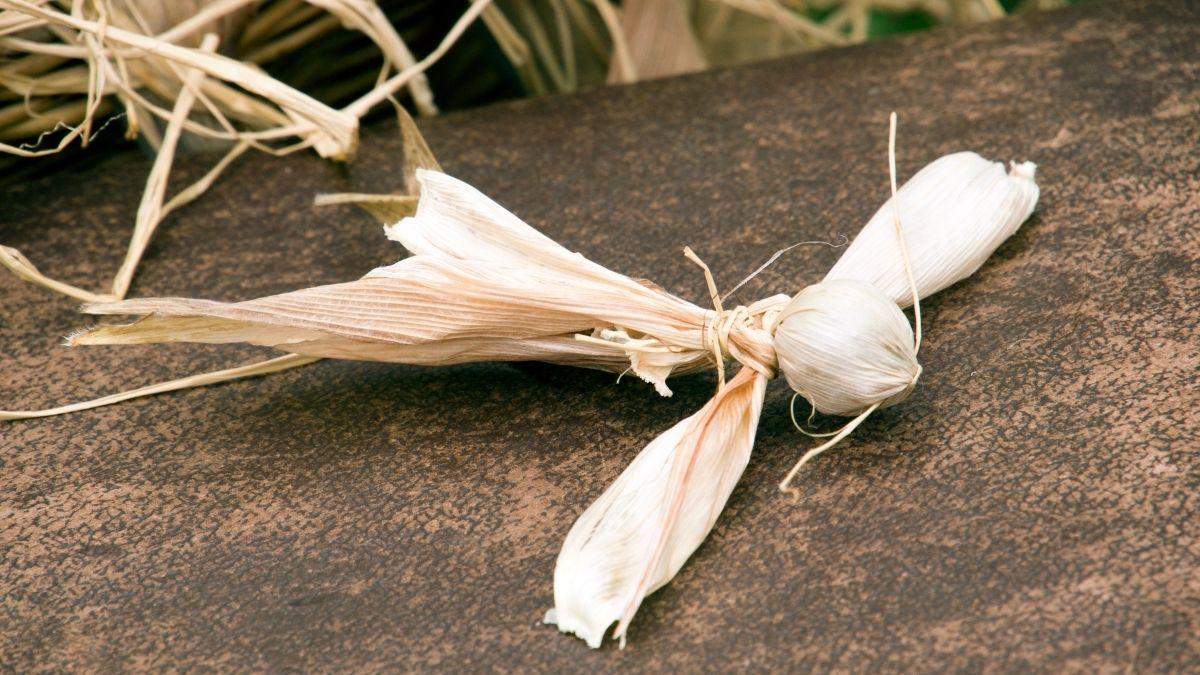
Bundle the thin end of the husk (the end with the husk “hair” on the inside), and tie it up tightly. The slick side of the leaves must be inward. Peel the leaves around to form the head. Tie the husk a little below the head to make the neck. Next, braid together three six-inch strips of the husk leaves to make the arms and the legs.
Next, put the arm pieces under the neck and tie them in place. Roll up a husk leaf and put it inside the tied-up husk under the neck to form the torso. Tie a string under the torso to make the waist.
Insert the leg pieces under the torso, and secure them to the body by tying the husk into a knot. Next, trim off the excess husk. Wrap one or two husk leaves above the legs and tie them into a knot to make the hips.
You can find an illustrated guide to making a historically accurate corn husk doll on the Native American Technology and Art website.
How Do You Dry Corn Husks for Dolls?
Drying corn husks for dolls is as simple as laying the husks on a newspaper and leaving them under the sun for three days. You must then soften the husks to make them easier to craft into dolls.
Soak the husks in warm water for a few minutes, then take the husks out and place them on a towel. Now that the husks are moistened, you can stack them and begin making the cornhusk doll.
The process of drying corn husks is the same regardless of what craft you want to make out of them.
How to Make Flowers with Corn Husks
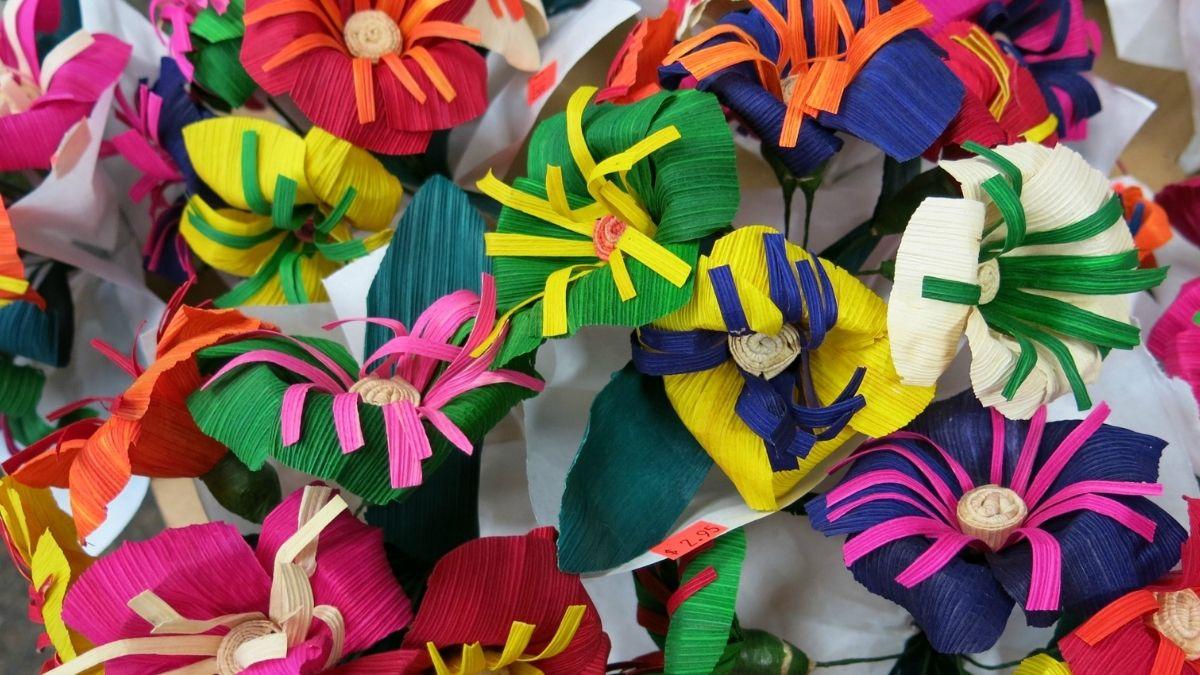
Heat some water in a bowl and add food coloring to it. Place the husks in the bowl for at least 30 minutes. Let the husks dry overnight.
The husks will become stiff after they dry, so you must dip them in warm water again to make them pliable. After a quick dip, let the husks dry for four hours and then fold them into flowers.
Bear in mind that you will need to add a lot of food coloring to the water — about half of one container should do it. Also, if you find the color isn’t deep enough, you can warm up the same water and dye the husks the next day again for 30 minutes.
Corn husks tend to float to the top, so use a plate to keep them submerged. After it’s dyed, dried, and made pliable, fold the husk in half, and cut slits at the fold.
Roll the folded husk up. The center is ready. Take another piece of husk and cut it into strips. Fold these strips and surround the center of the flower you just made with it. These will look like the petals of the flower. You can then use unfolded strips of the husk (dyed green) as leaves.
After you’ve assembled the flower, use a hot glue gun and fix everything together. Trim the extra husk off from the bottom, and you will have a beautiful corn husk flower.
How to Make a Wreath with Corn Husks
Fashioning a corn husk wreath out of an old straw wreath is easy. Form the first layer by wrapping the edges of the husks around the wreath and securing them with T pins. Next, dunk some husk leaves in water and blot them with paper towels. Finally, form the next layer with these pliable leaves, secure them with T pins, and let them dry.
The leaves should dry in curled, undulating shapes. You can then use a hot glue gun to attach the husks to the wreath permanently.
By the way, do you also perhaps want to learn how to dry cranberries for crafts? I have a tutorial for that, too!
How To Dry Corn Husks For Crafts: Recap
Ready to make the most of your corn husks? Here’s a final recap of how to dry corn husks for crafts in no time.
- Cut the cobs at their bases.
- Microwave the cobs for up to a minute if tough.
- Peel the husks from the corn.
- Place the husks in the sun for three days to dry, then make crafts!
While you will have to wait a few days to get the best results, it’s certainly worth it. Take a look at a few more corn craft ideas online, too!
Originally posted 2021-10-21 06:29:33.


