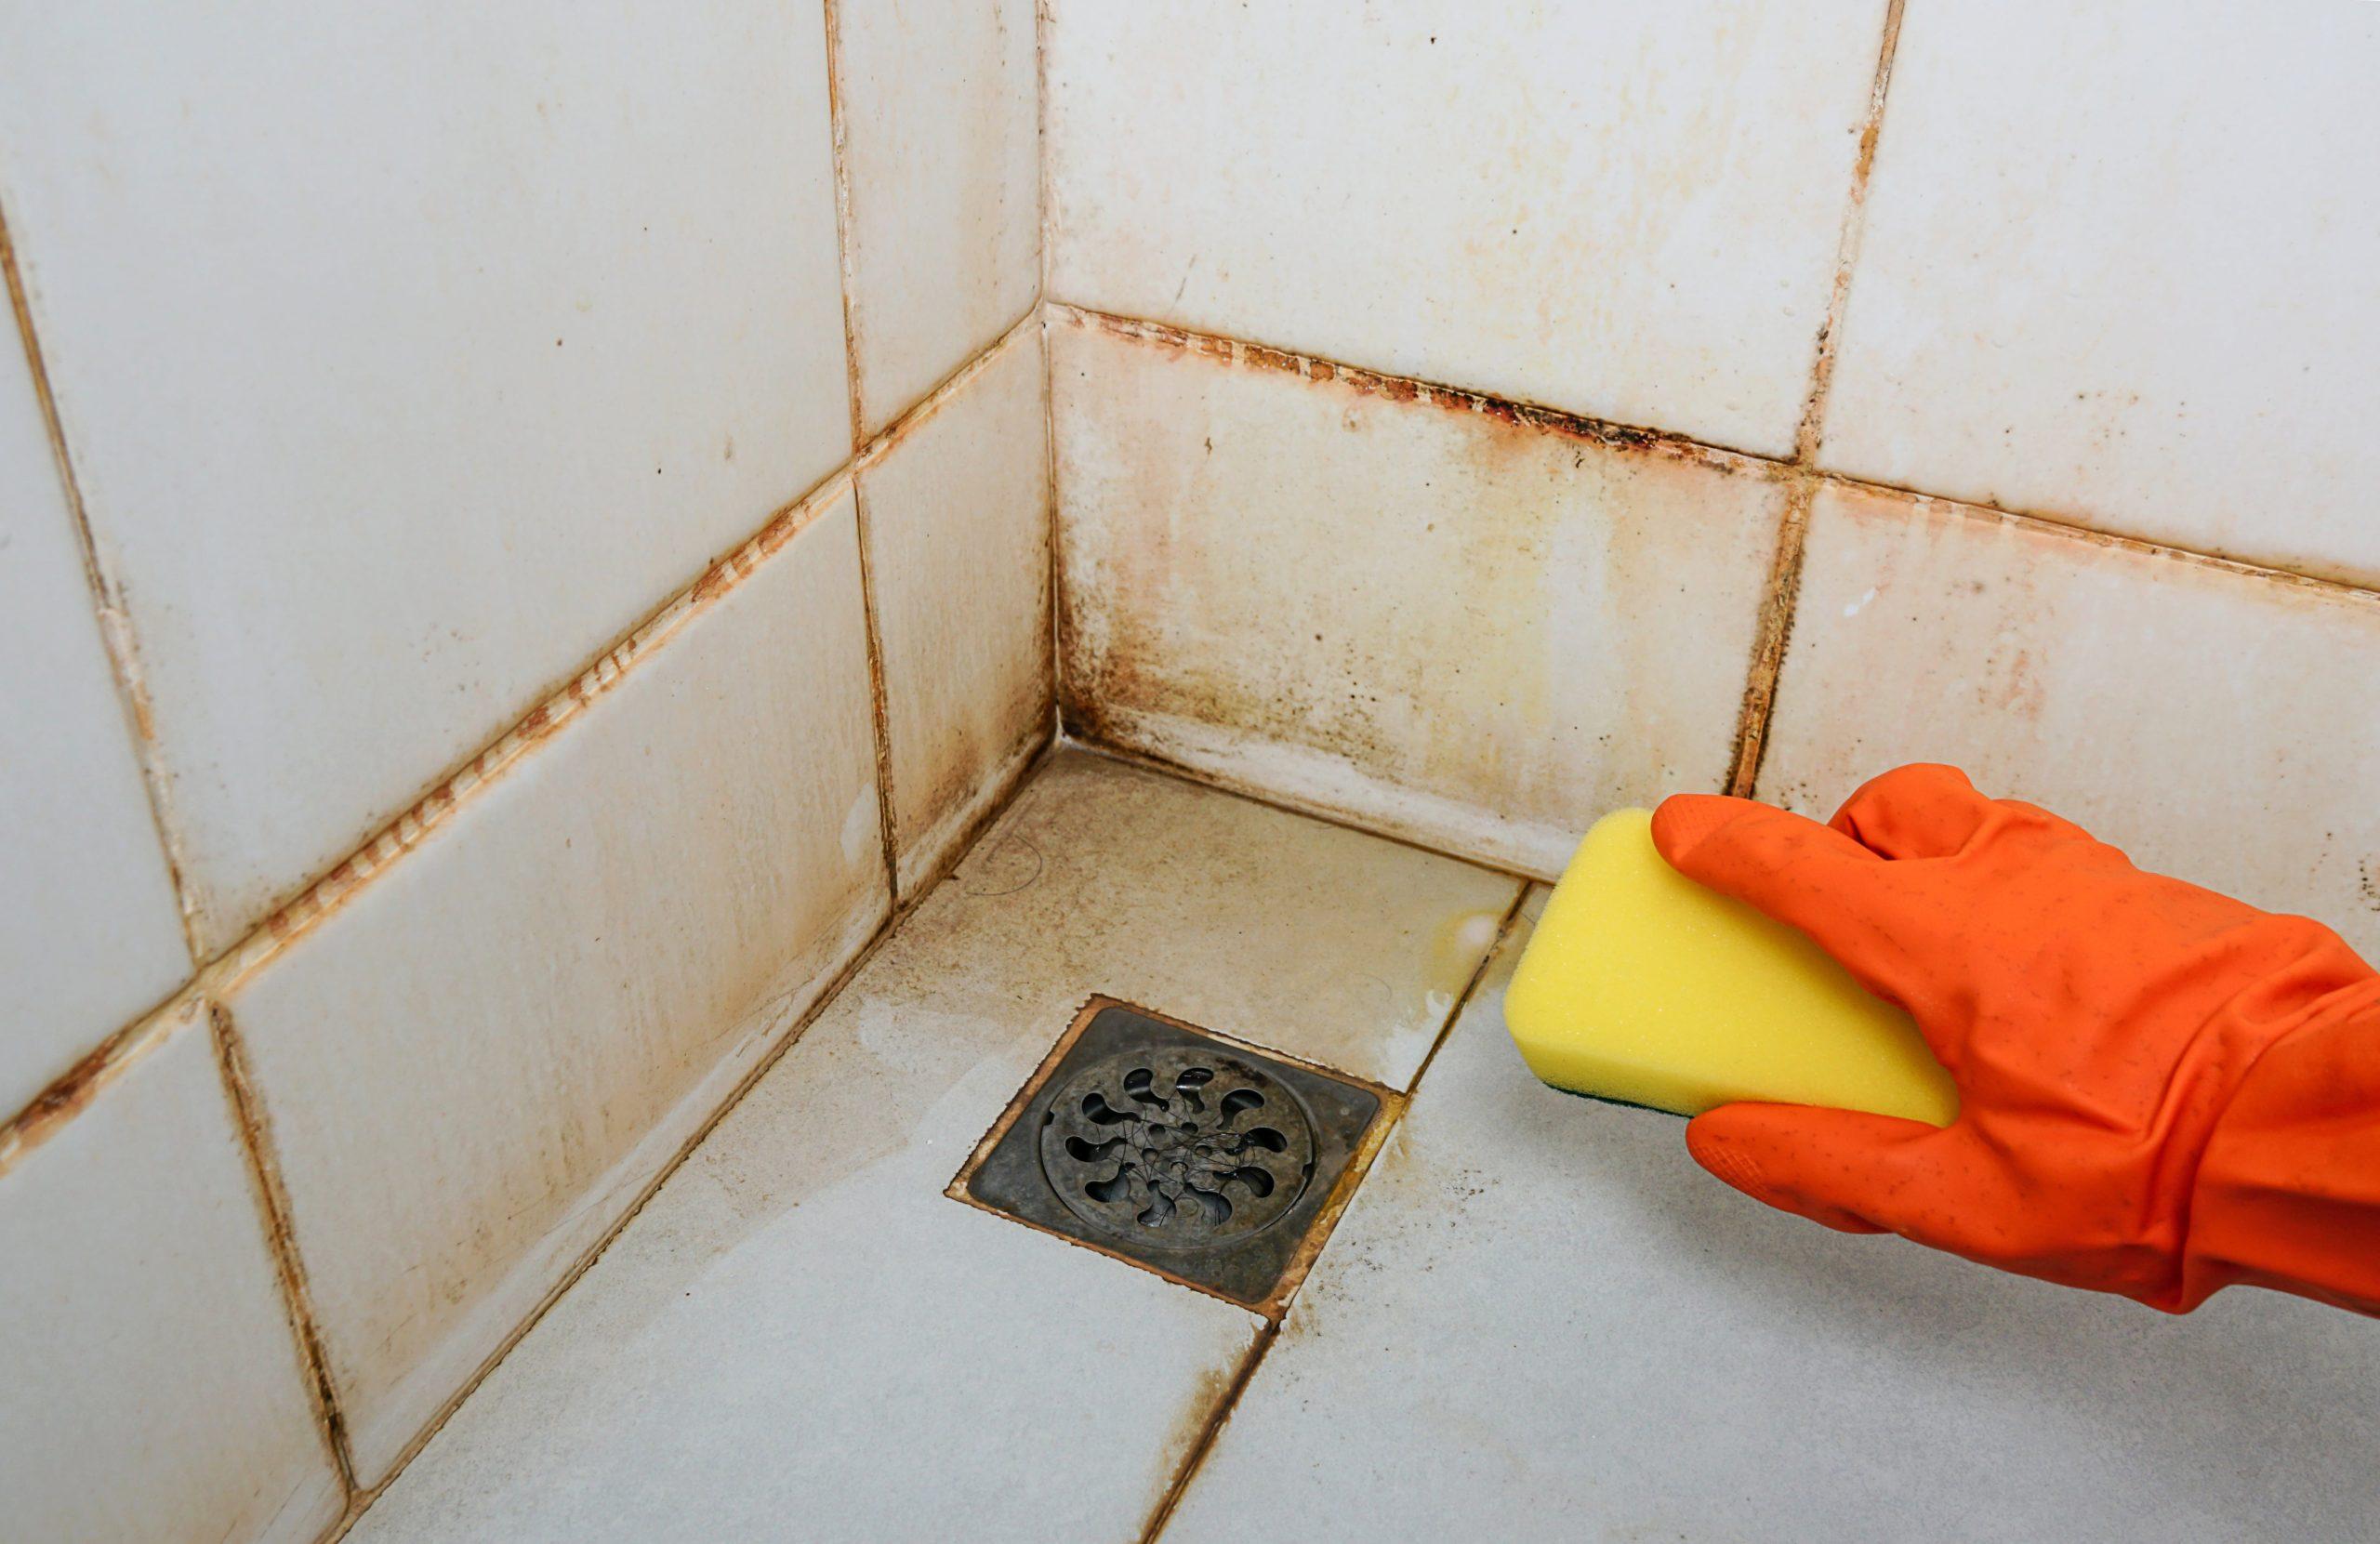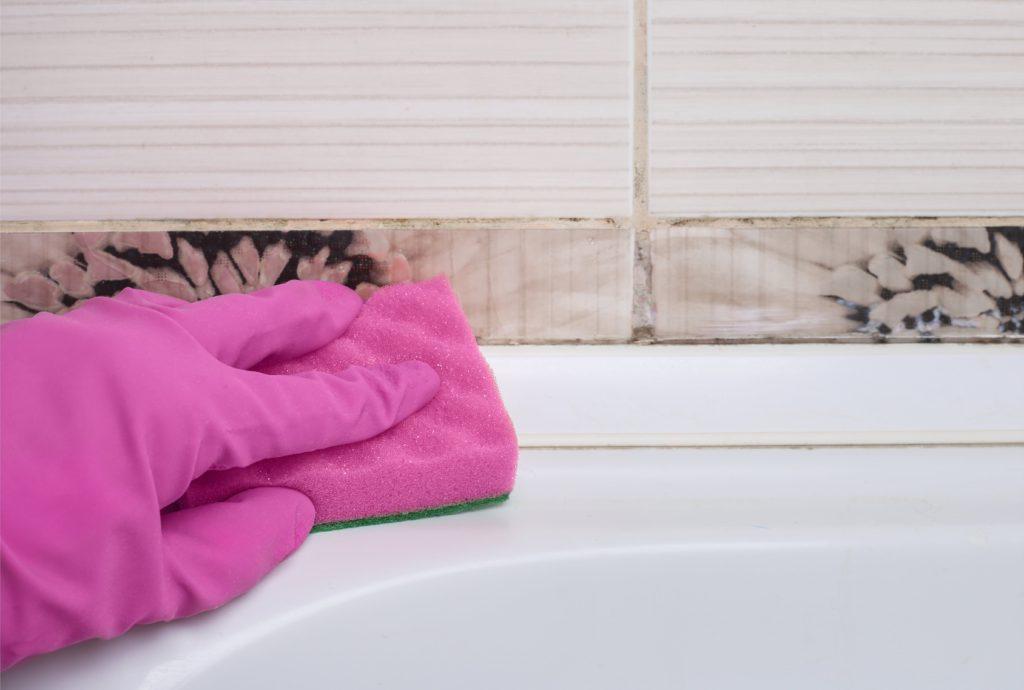
Do you have an unsightly black mold growing in your shower? If so, you’re not alone. Mold loves dark and humid places like showers – but fortunately, it’s easy to remove with the right products and a bit of elbow grease. This guide will show you how to get rid of mold from your shower in no time!
Identifying Mold
Mold in the shower is most likely caused by moisture and warm temperatures. It can be difficult to tell which type of mold you are dealing with, as there are many different types that appear differently. To identify it, look for spots or patches of discoloration on wall tiles or grout lines. The color may range from black to white and green, or even yellowish-brown; the texture may also vary from furry to slimy. If unsure, consult a professional for help identifying what kind of mold you have in your shower before taking any further steps.
Preparing to Remove the Mold
Mold in the shower is unsightly and potentially dangerous. Removing it doesn’t have to be a difficult task, though. Before starting, you’ll need to prepare by gathering all of your supplies: gloves, face mask, detergent or bleach solution, scrub brush or sponge and rags. Then open any windows in the bathroom for ventilation and put on protective gear like gloves and a face mask before beginning the cleaning process. After taking these precautions, you’ll be ready to start mold removal in the shower!
Cleaning and Sanitizing the Area
If you want to keep your shower area clean and sanitized, it’s important to start with the basics. First, regularly wipe down surfaces such as walls and floors with a cleaning solution that contains bleach or hydrogen peroxide. You should also focus on scrubbing any mold from grout lines and caulk joints between tiles. Finally, use an antimicrobial cleaner or disinfectant spray around knobs, handles and other areas where germs can accumulate. Doing this routinely will help ensure that your shower stays clean and healthy!
Removing Stubborn Mold Spots
Removing stubborn mold spots in your shower can be a daunting task, but it doesn’t have to be. First and foremost, it is important to make sure that you are wearing the proper protective gear, such as gloves and eye protection. Once you have done this, there are a few different ways to remove those pesky spots. You could try using a vinegar spray or even an antibacterial cleaner mixed with water. Both of these should do the trick! If not, then more aggressive tactics may need to be taken, such as scrubbing with steel wool or sandpaper.
Maintaining a Mold-Free Shower
A mold-free shower is not only more aesthetically pleasing, but also necessary for your health. The first step in maintaining a mold-free shower is to make sure you are regularly cleaning it. This means scrubbing the walls and floors with a good bathroom cleaner and making sure all of the grout lines are squeaky clean. Additionally, be sure to keep the area ventilated by opening windows or turning on ventilation fans after showers so that moisture does not linger in the air which can cause mold growth over time.
Environmental Considerations for Removing Mold
The first step in removing mold from your shower is to identify the cause of the moisture. If you can fix any underlying water leaks or issues, this will help reduce future mold growth. After identifying and addressing the issue, it’s time to tackle removing the existing mold. Wear gloves and masks while doing so to protect yourself from inhaling spores. Use a mixture of bleach and warm water or hydrogen peroxide solutions on hard surfaces (like tile). And for softer materials such as grout or caulk, use an ammonia-based cleaner followed by a vinegar rinse for added protection against further fungal growth.

Originally posted 2023-01-11 12:37:58.
